
Project Brief:
Create animated visualizations based off of audio data.
Ideation:
Create a portfolio worthy project that uses API and data creatively...Ok so an audio visualizer isn't really that creative but it's actually manageable unlike 99.99% of my typical project ideas. The ideation is pretty simple, use the WebAudio API and find ways to analyze the data/integrate the data in a tangible way in the animation.
Technology:
- WebGL
- GLSL
- Three.js
- HTML
- CSS
- Javascript
- Tweakpane
Process:
I wasn't too worried about the animation process as I had felt relatively confident in my prior experience with basic shaders and creative coding in three.js. When you light things well, make it 3D and add some particles and noise it'll always look at least decent. I knew the biggest hurdles for me would be the logistics, allowing users to upload their own sound files, databases, positioning and styling the non-canvas elements. When I was doing my initial research I was worried that I would have to use php and backend in order to allow users to upload mp3 files. This would open up a whole can of worms for debugging and cyber security, logistics like upload speed etc. Luckily, it turns out you can accept file types in labels and forms and use the local storage, a life saver for this project.
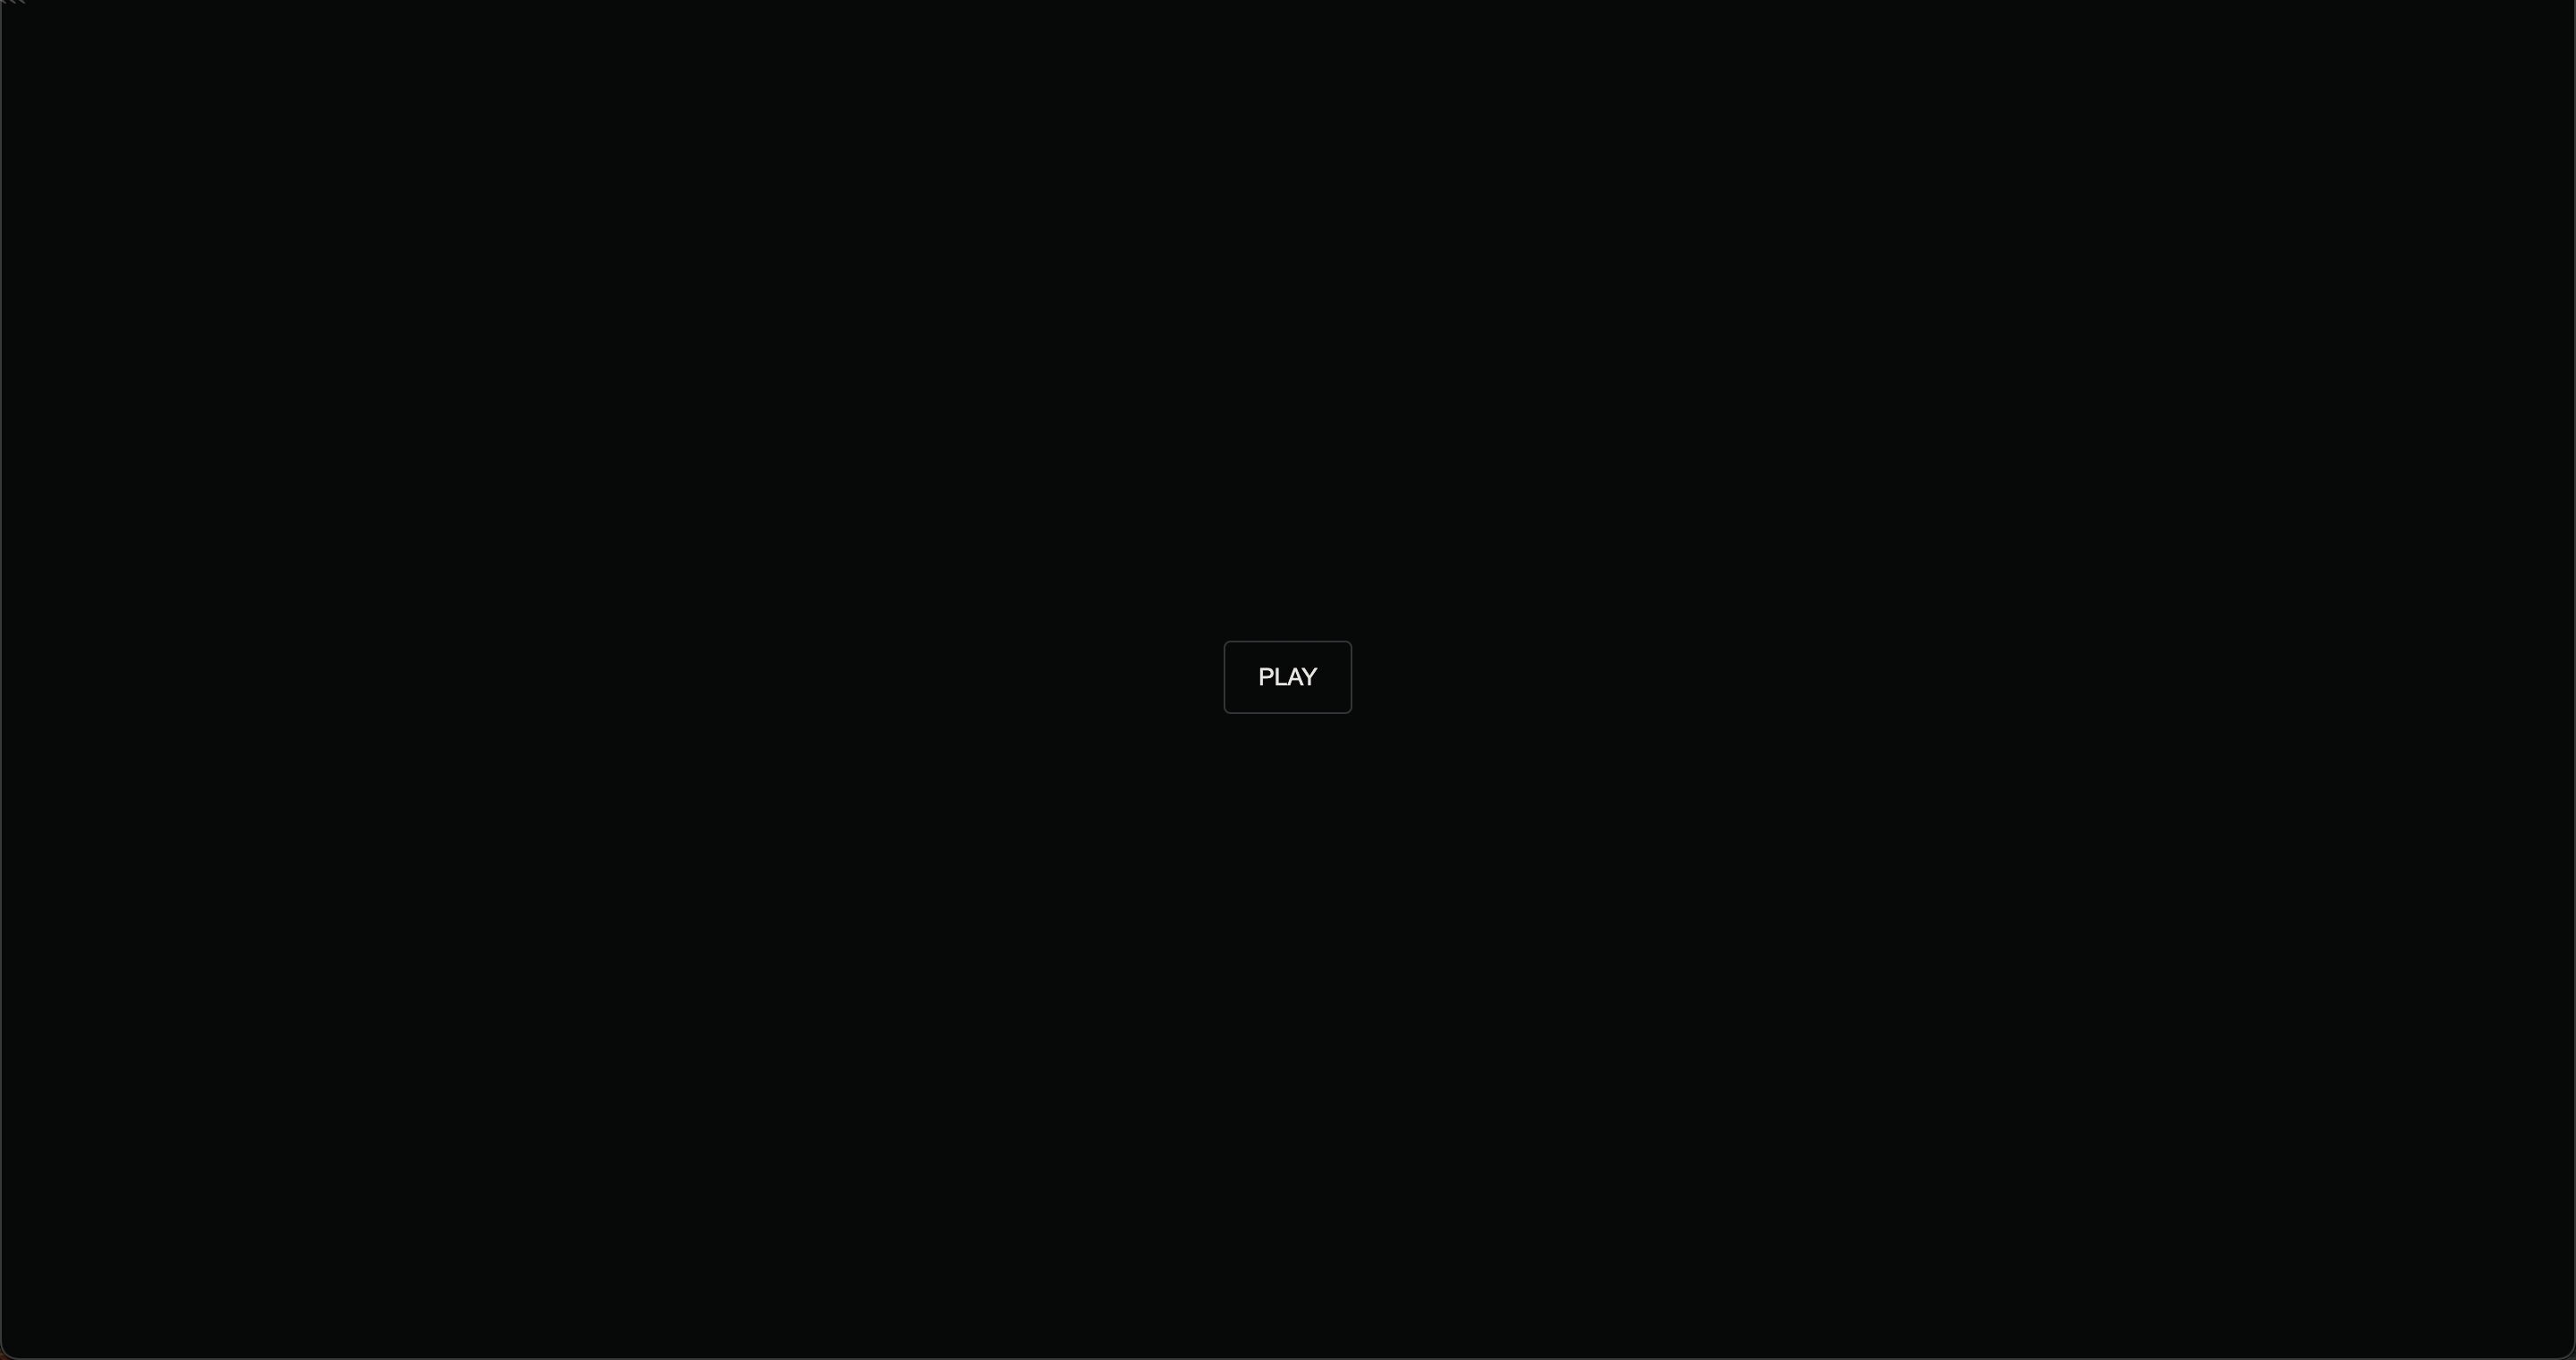
Version 1:
My first iteration used a black overlay that covered my canvas element and had a button that simultaneously removed the overlay and started the audio. I used three.js's built in audio objects and listeners just to do a proof of concept. It proved harder than expected to figure out the audio analysis as the three.js audio object only had average frequency and average amplitude functions. In the documentation it's not clear what the audio object actually is and hence it was difficult to know which built in functions were included, I had to dig through the source code for a while to figure out what the three.audio object actually was / what the average frequency and amplitude functions did. Most tutorials create simple waveforms or bar chats with amplitude and frequency and never really explained the nitty gritty / explored more complicated ideas like beat detection and separating frequencies. It was a lot source code documentation digging and frankensteining an understanding between the MDN Web Audio API documentation and the three.js audio documentation, figuring out where they overlap and which functions are included etc.
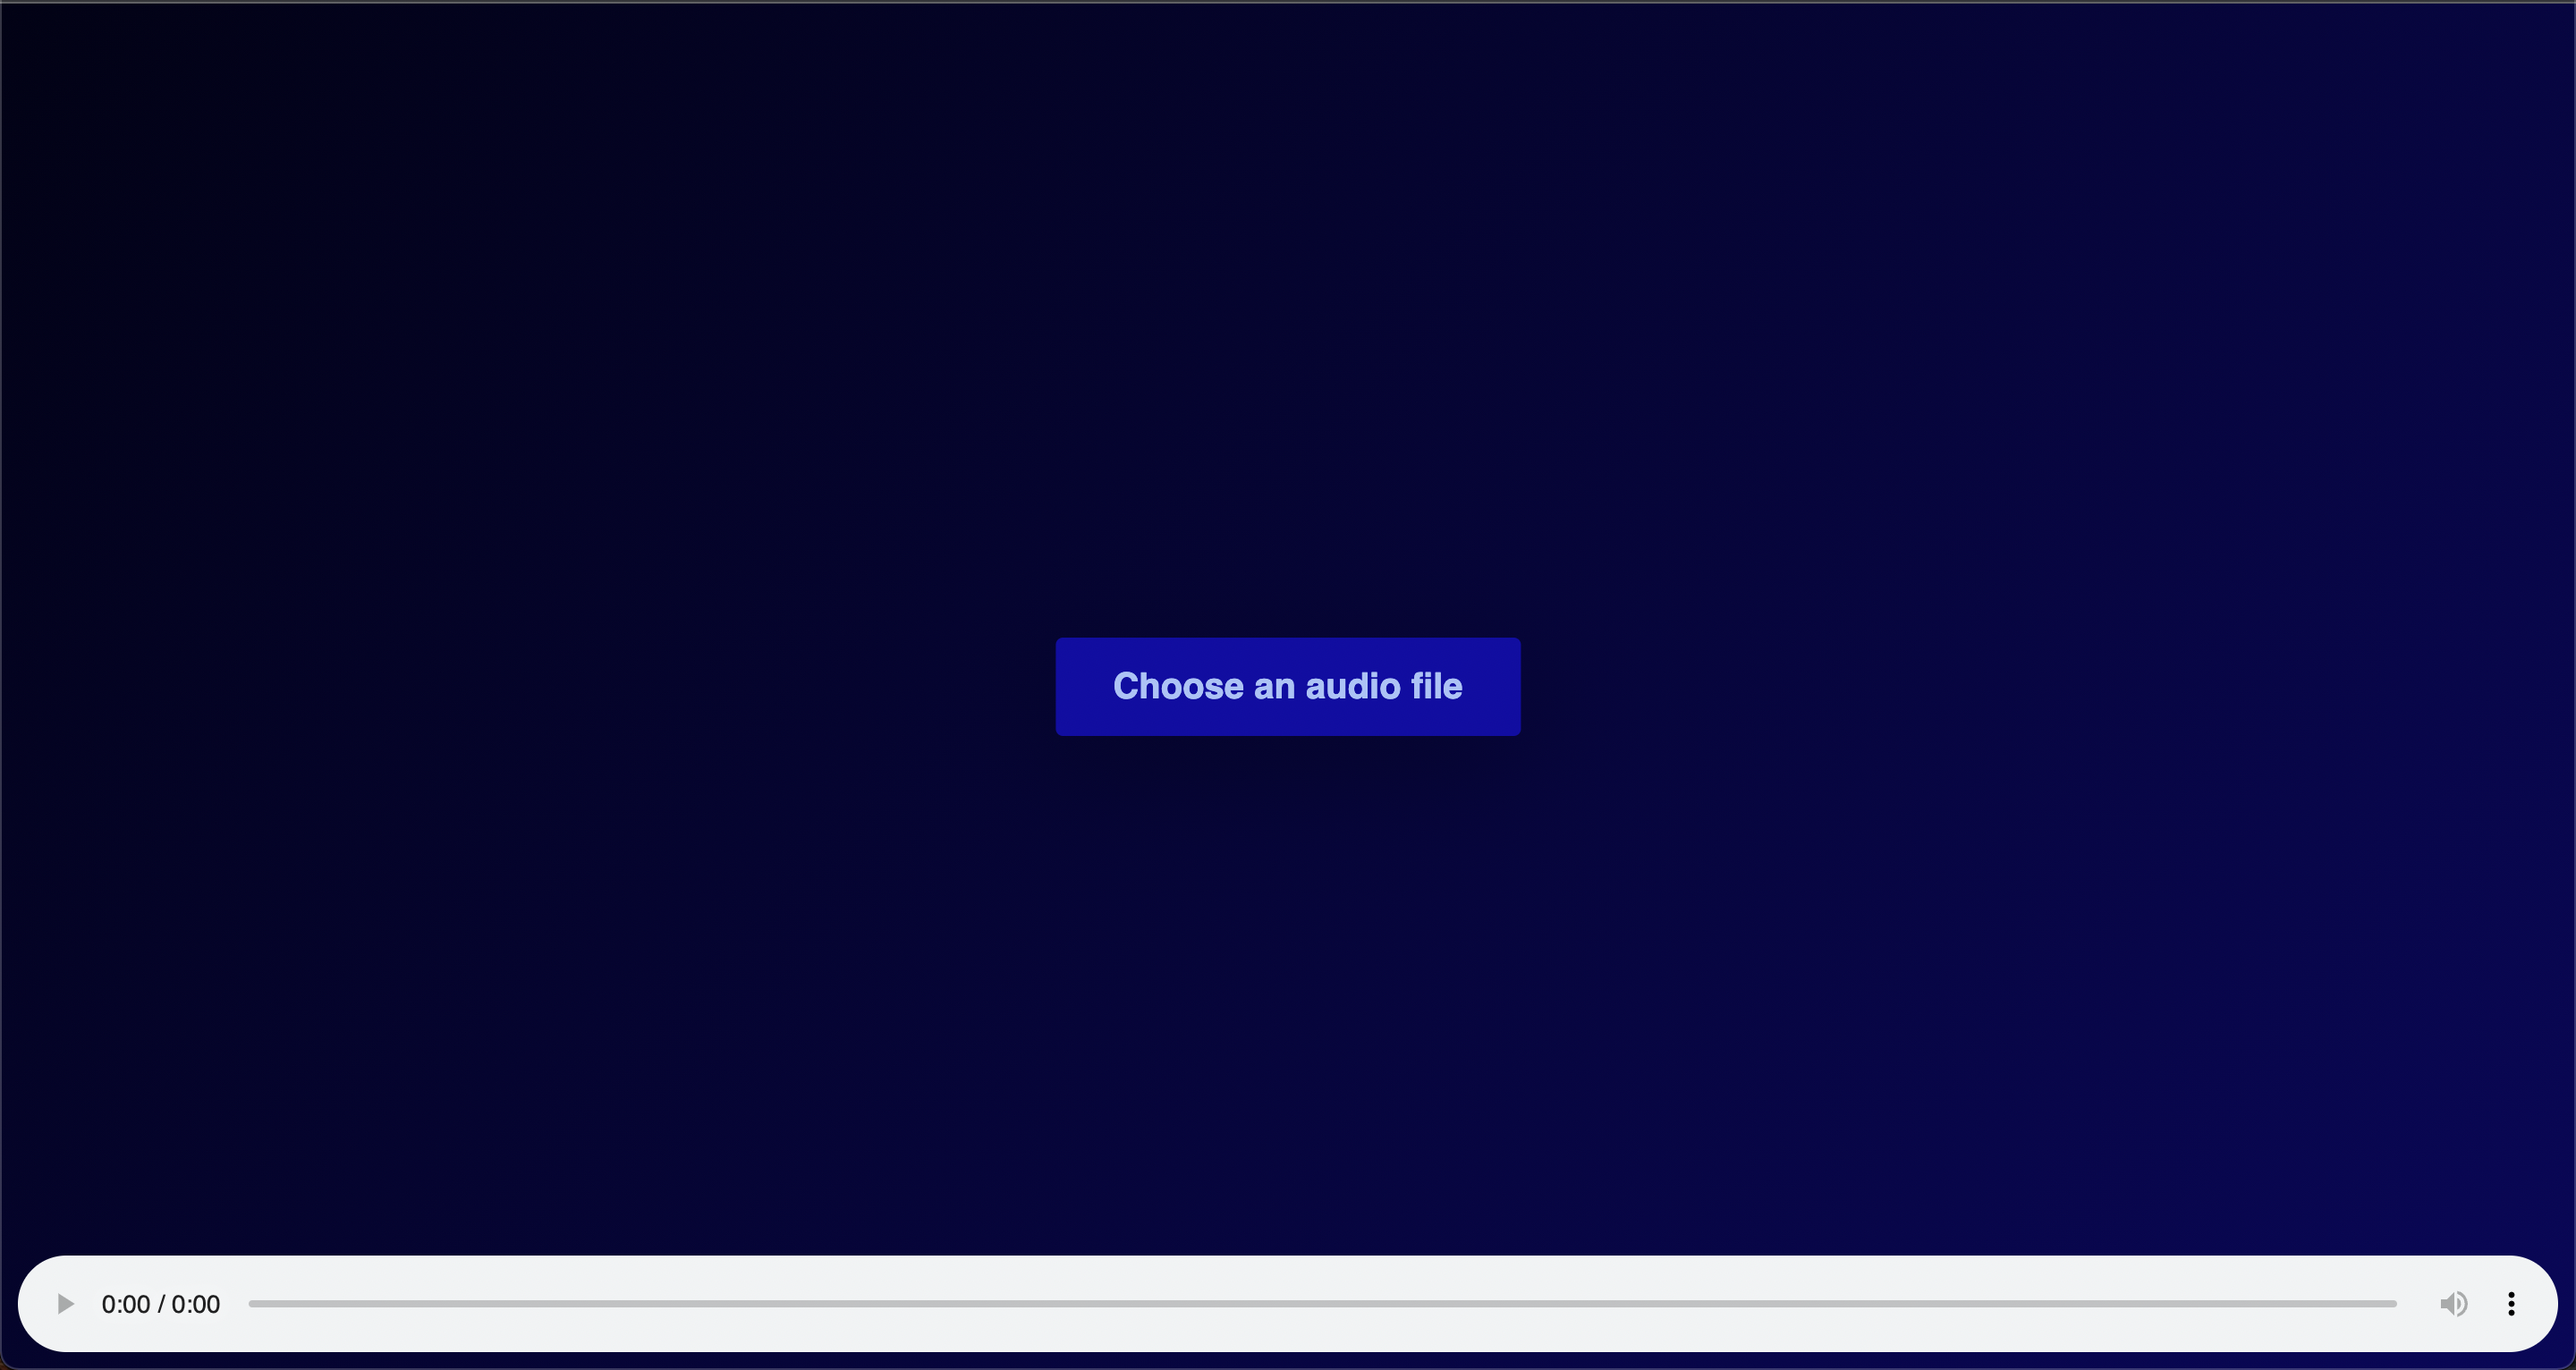
Version 2:
For my second iteration I focused on allowing users to upload their own files instead of having a hard coded audio file that plays every time. This was surprisingly easy to do with inputs accepting audio in the html. With a bit of css and javascript the button which controlled input moved to a different part of the screen after the initial use and users to upload different audio files back to back etc. In order to do this however I relied on the vanilla Web Audio API instead of the built in three.js audio object, it was just much easier to follow the MDN tutorials than try to patch things together.
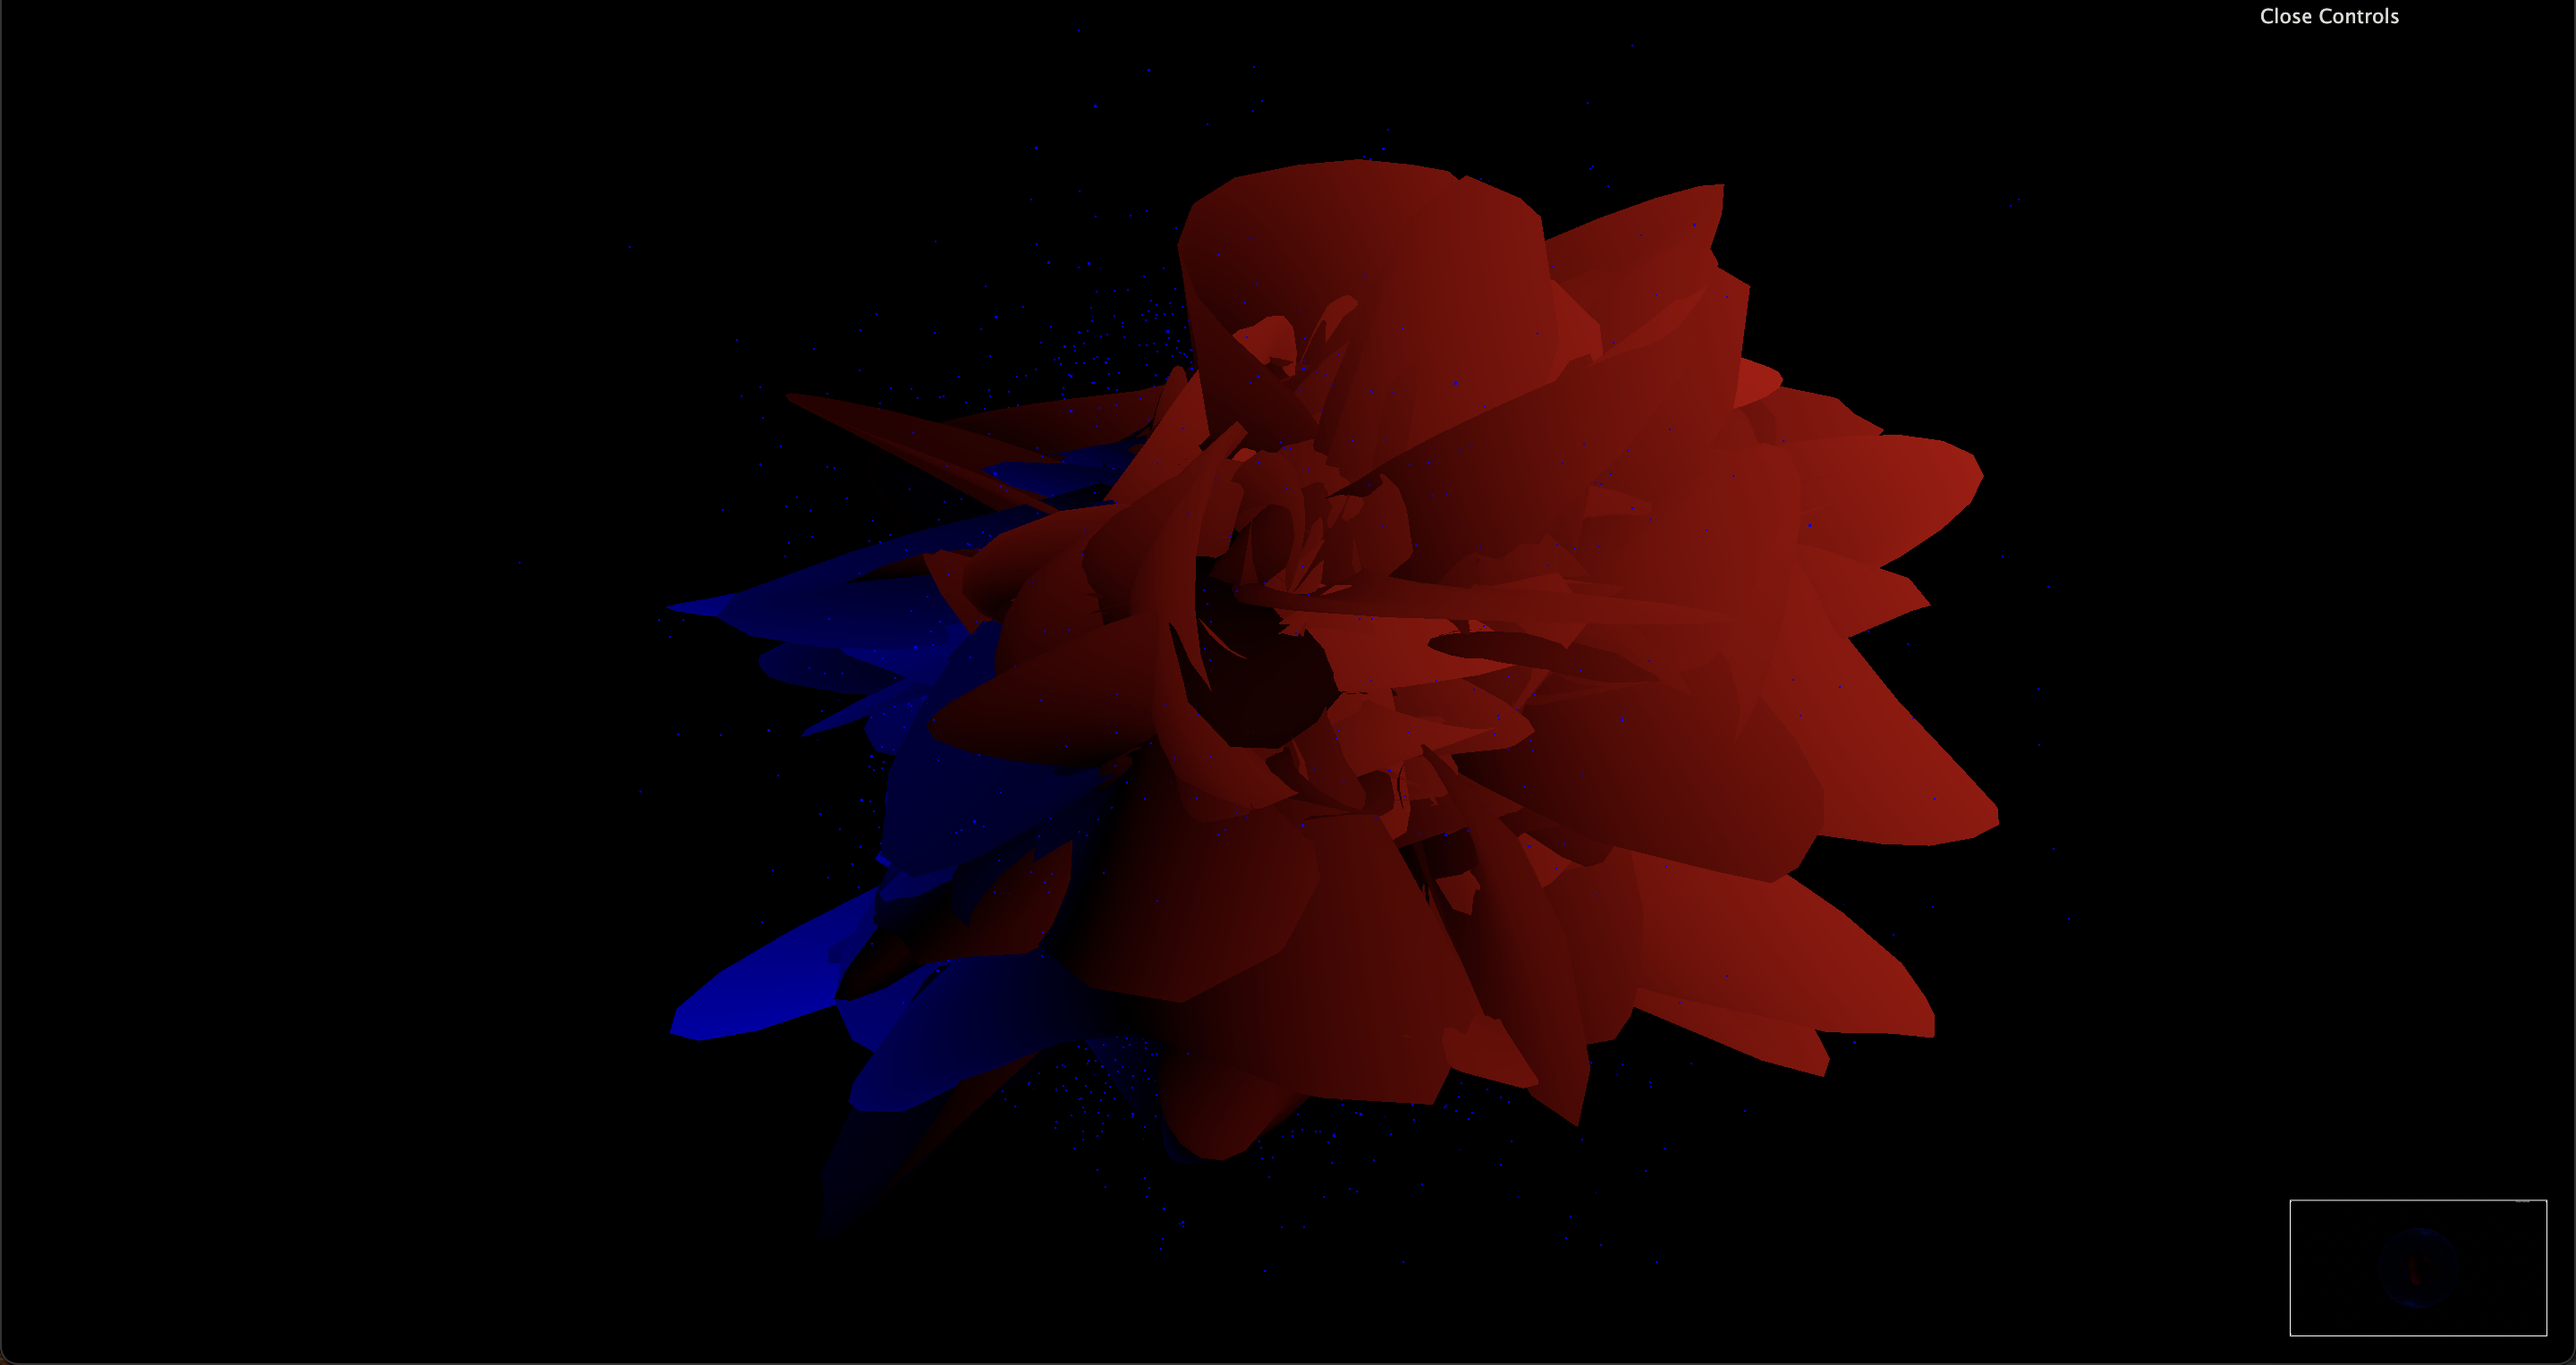
Using mainly just the average amplitude and average frequency I was able to create a somewhat interesting 3D visualizer but the animations were quite rough around the edges. I knew that in order to fine tune them I would have to dig deeper into the audio and figure out how to find the different wavelengths and frequencies.
Version 3:
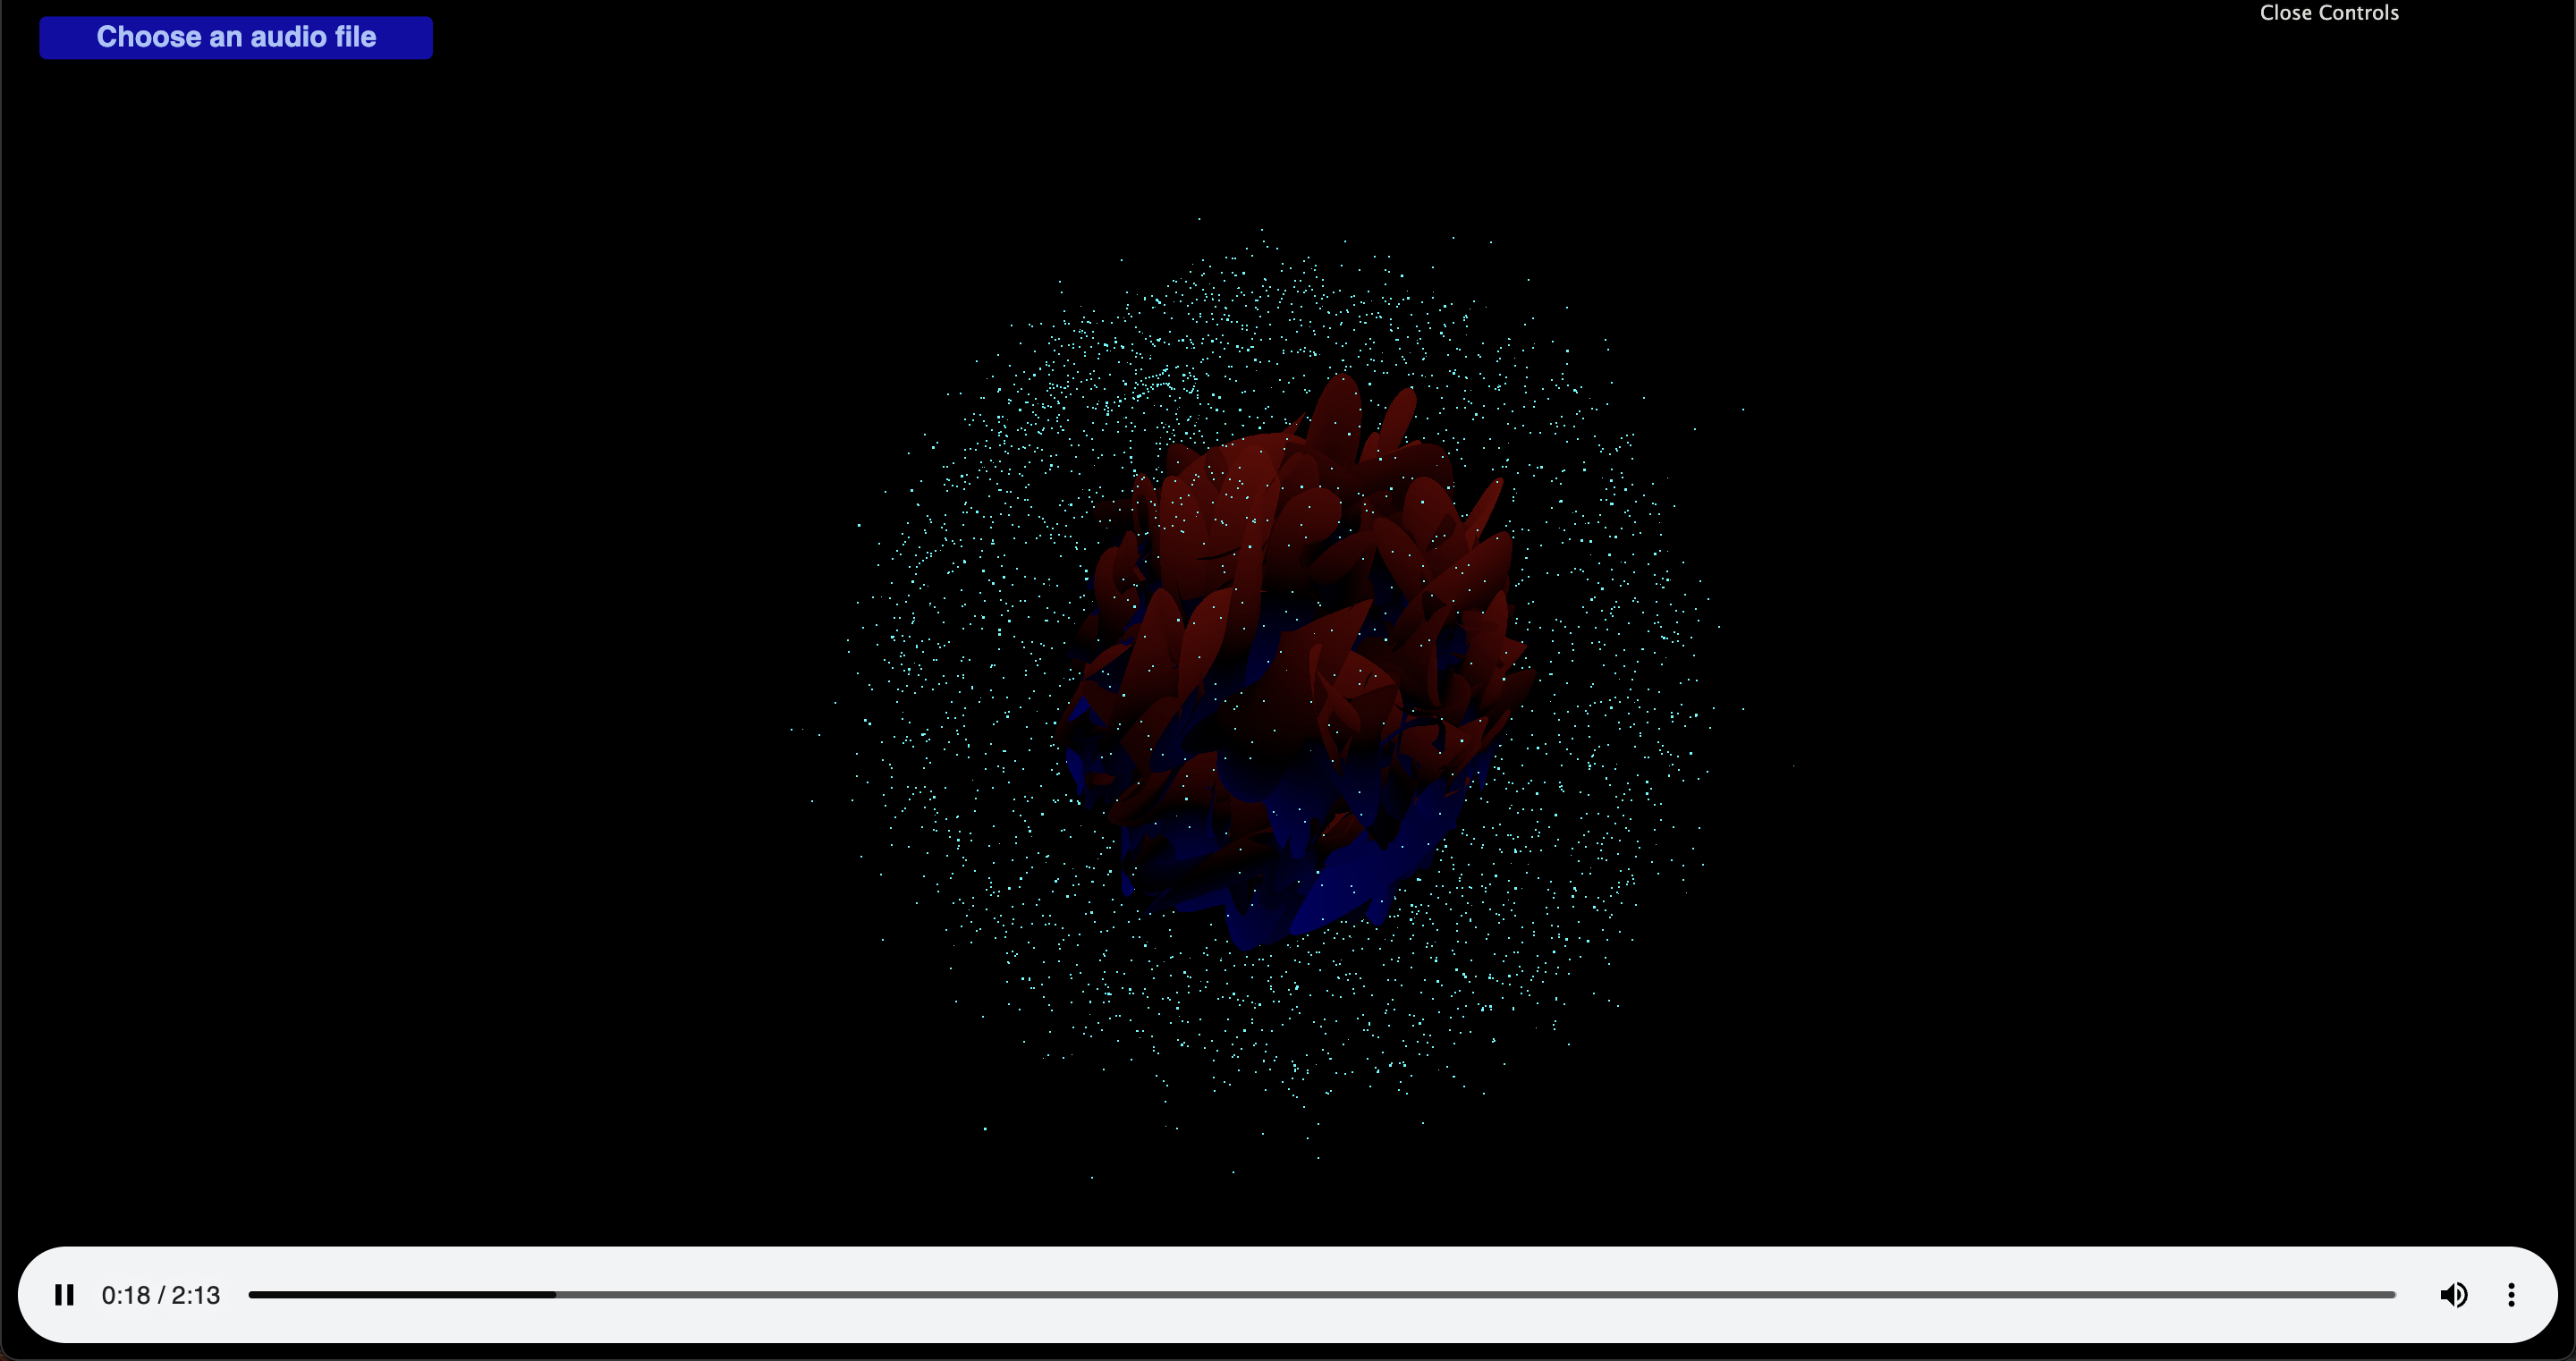
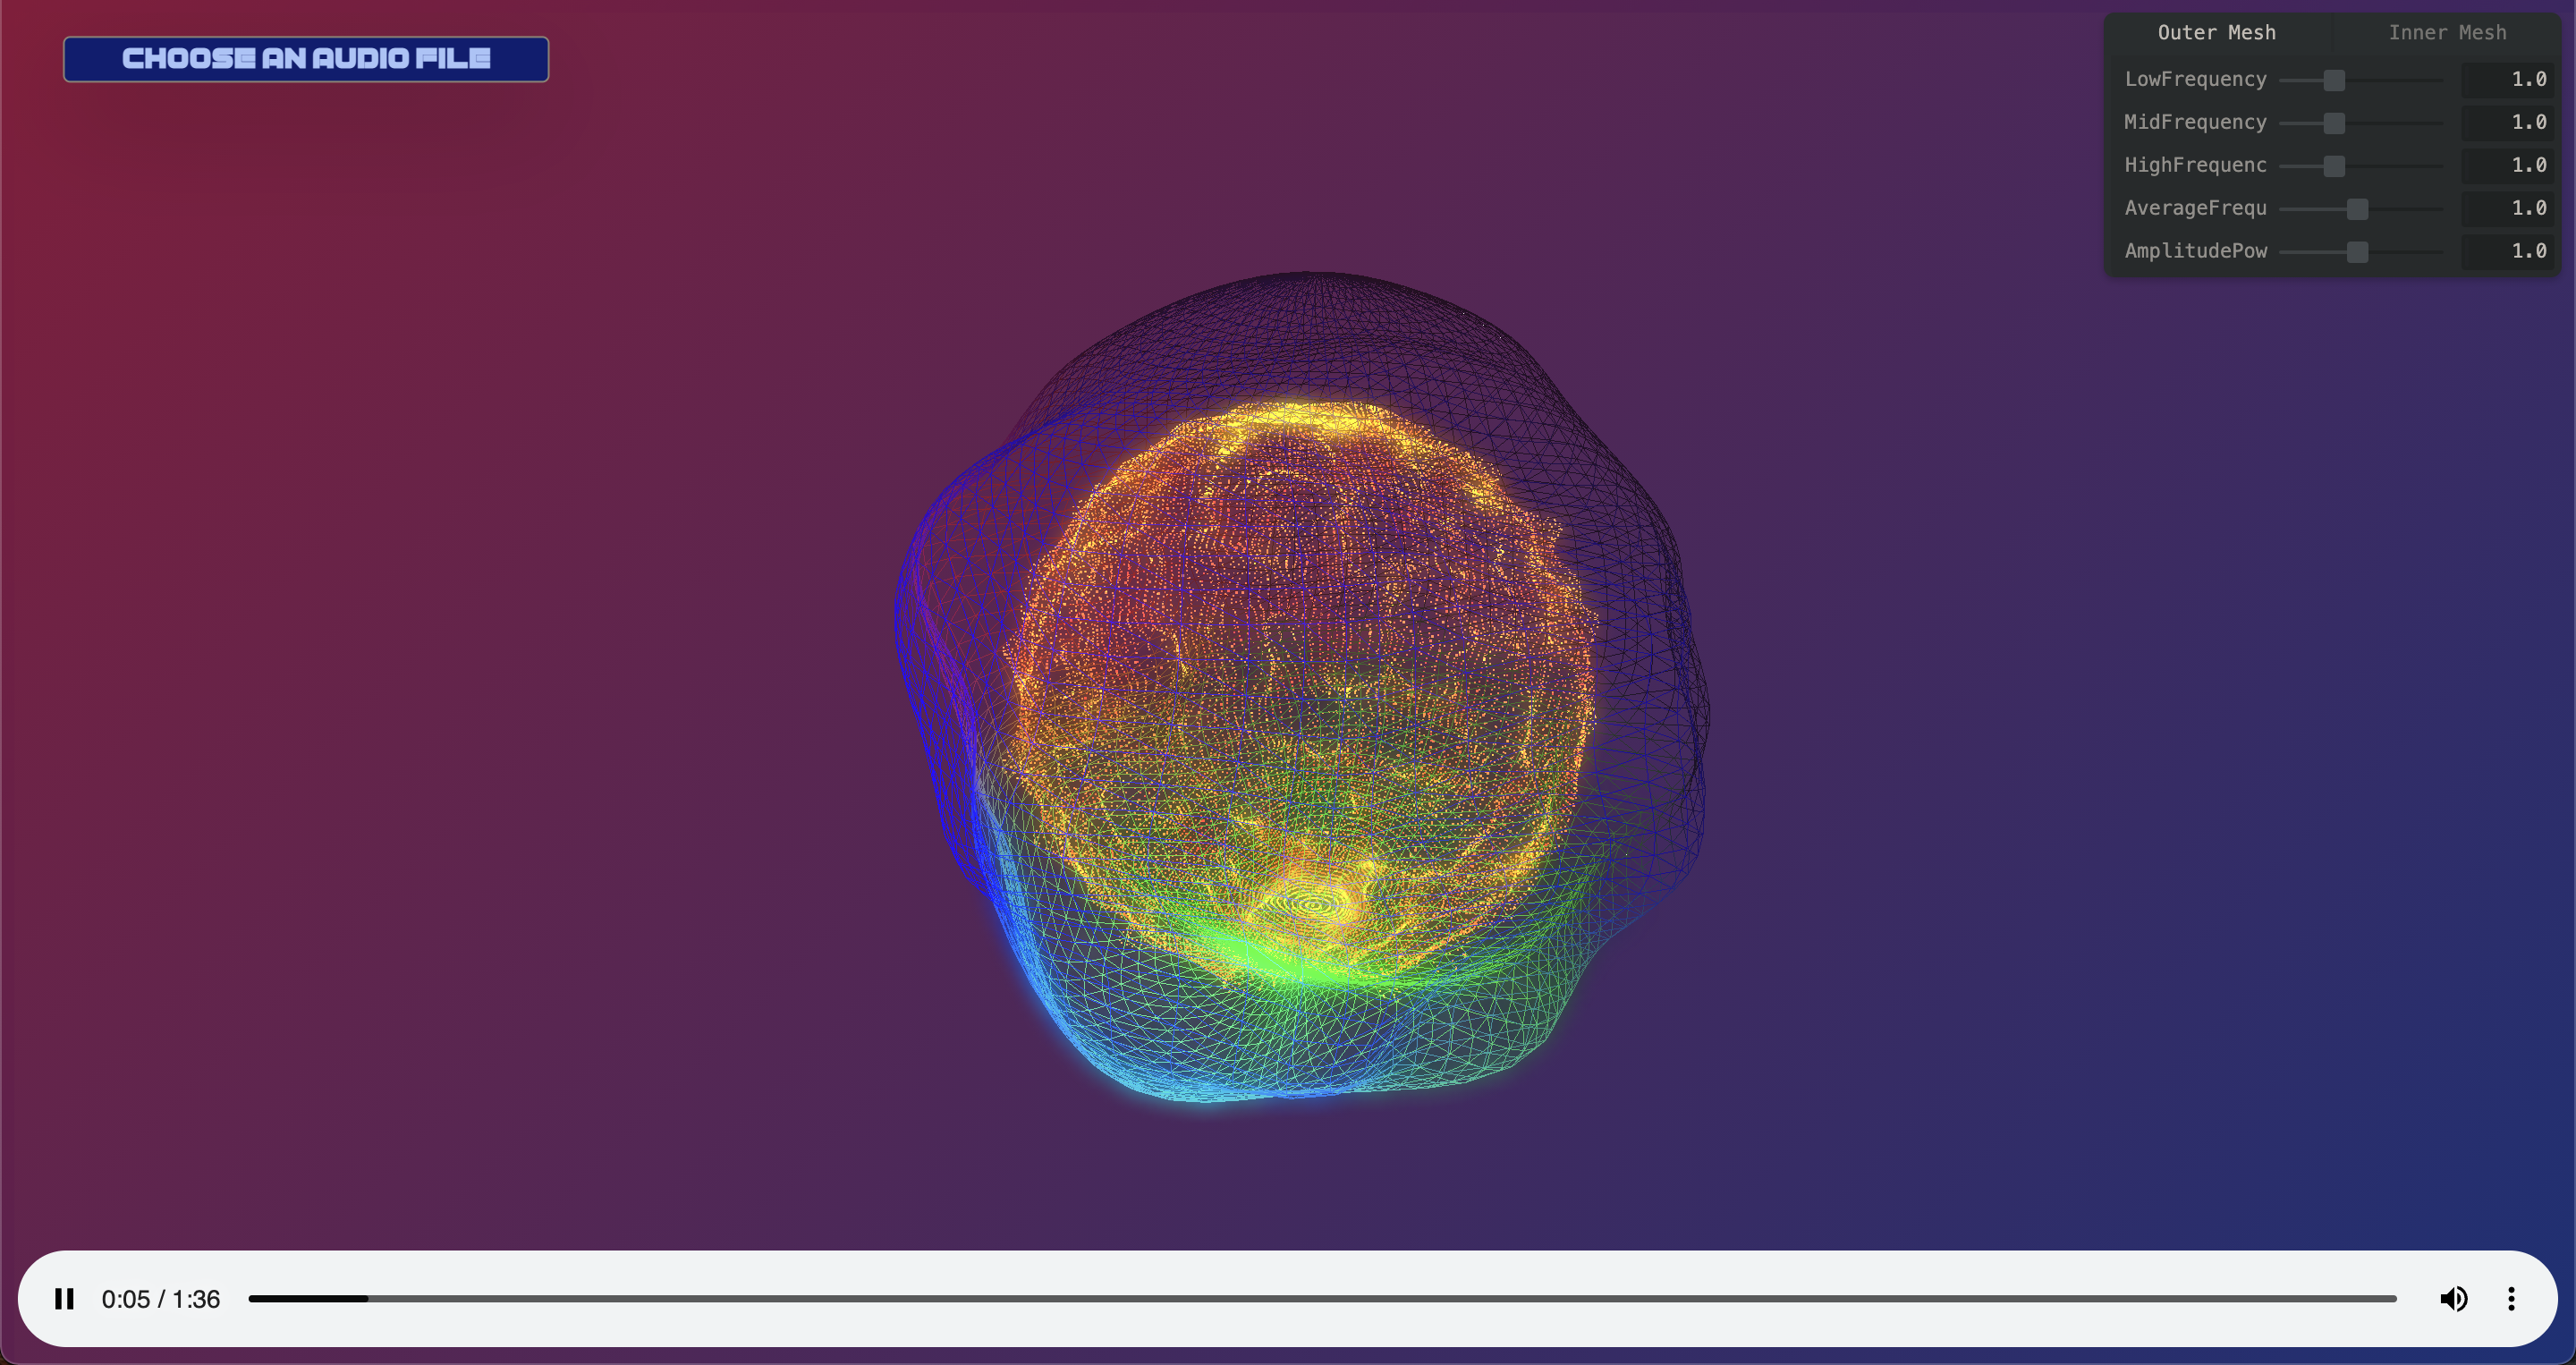
I went through about 6-8 different shader variations exploring simplex noise, curl noise in order to create the animation. This tinkering really helped me improve my shader skills and overtime my ability to tune fine details began to improve even though I wasn't necessarily incorporating new elements. I decided to use the average frequency and amplitude to directly control the peaks and morphing in the outer mesh and that the low,mid, and high frequencies would control the colors particle mesh. After a lot of trial and error tweaking it began to look more promising. I did a bit of postprocessing to add a bunch of glow and bloom as well because I'm a sucker for cliche visuals.
I added a gui via tweakpane instead of dat.gui simply because I like the aesthetic of tweakpane. It then took another few round of trial and error to figure out the variable ranges and placements so that the interactivity felt meaningful. Finally an end product was beginning to take shape.
Version 4:
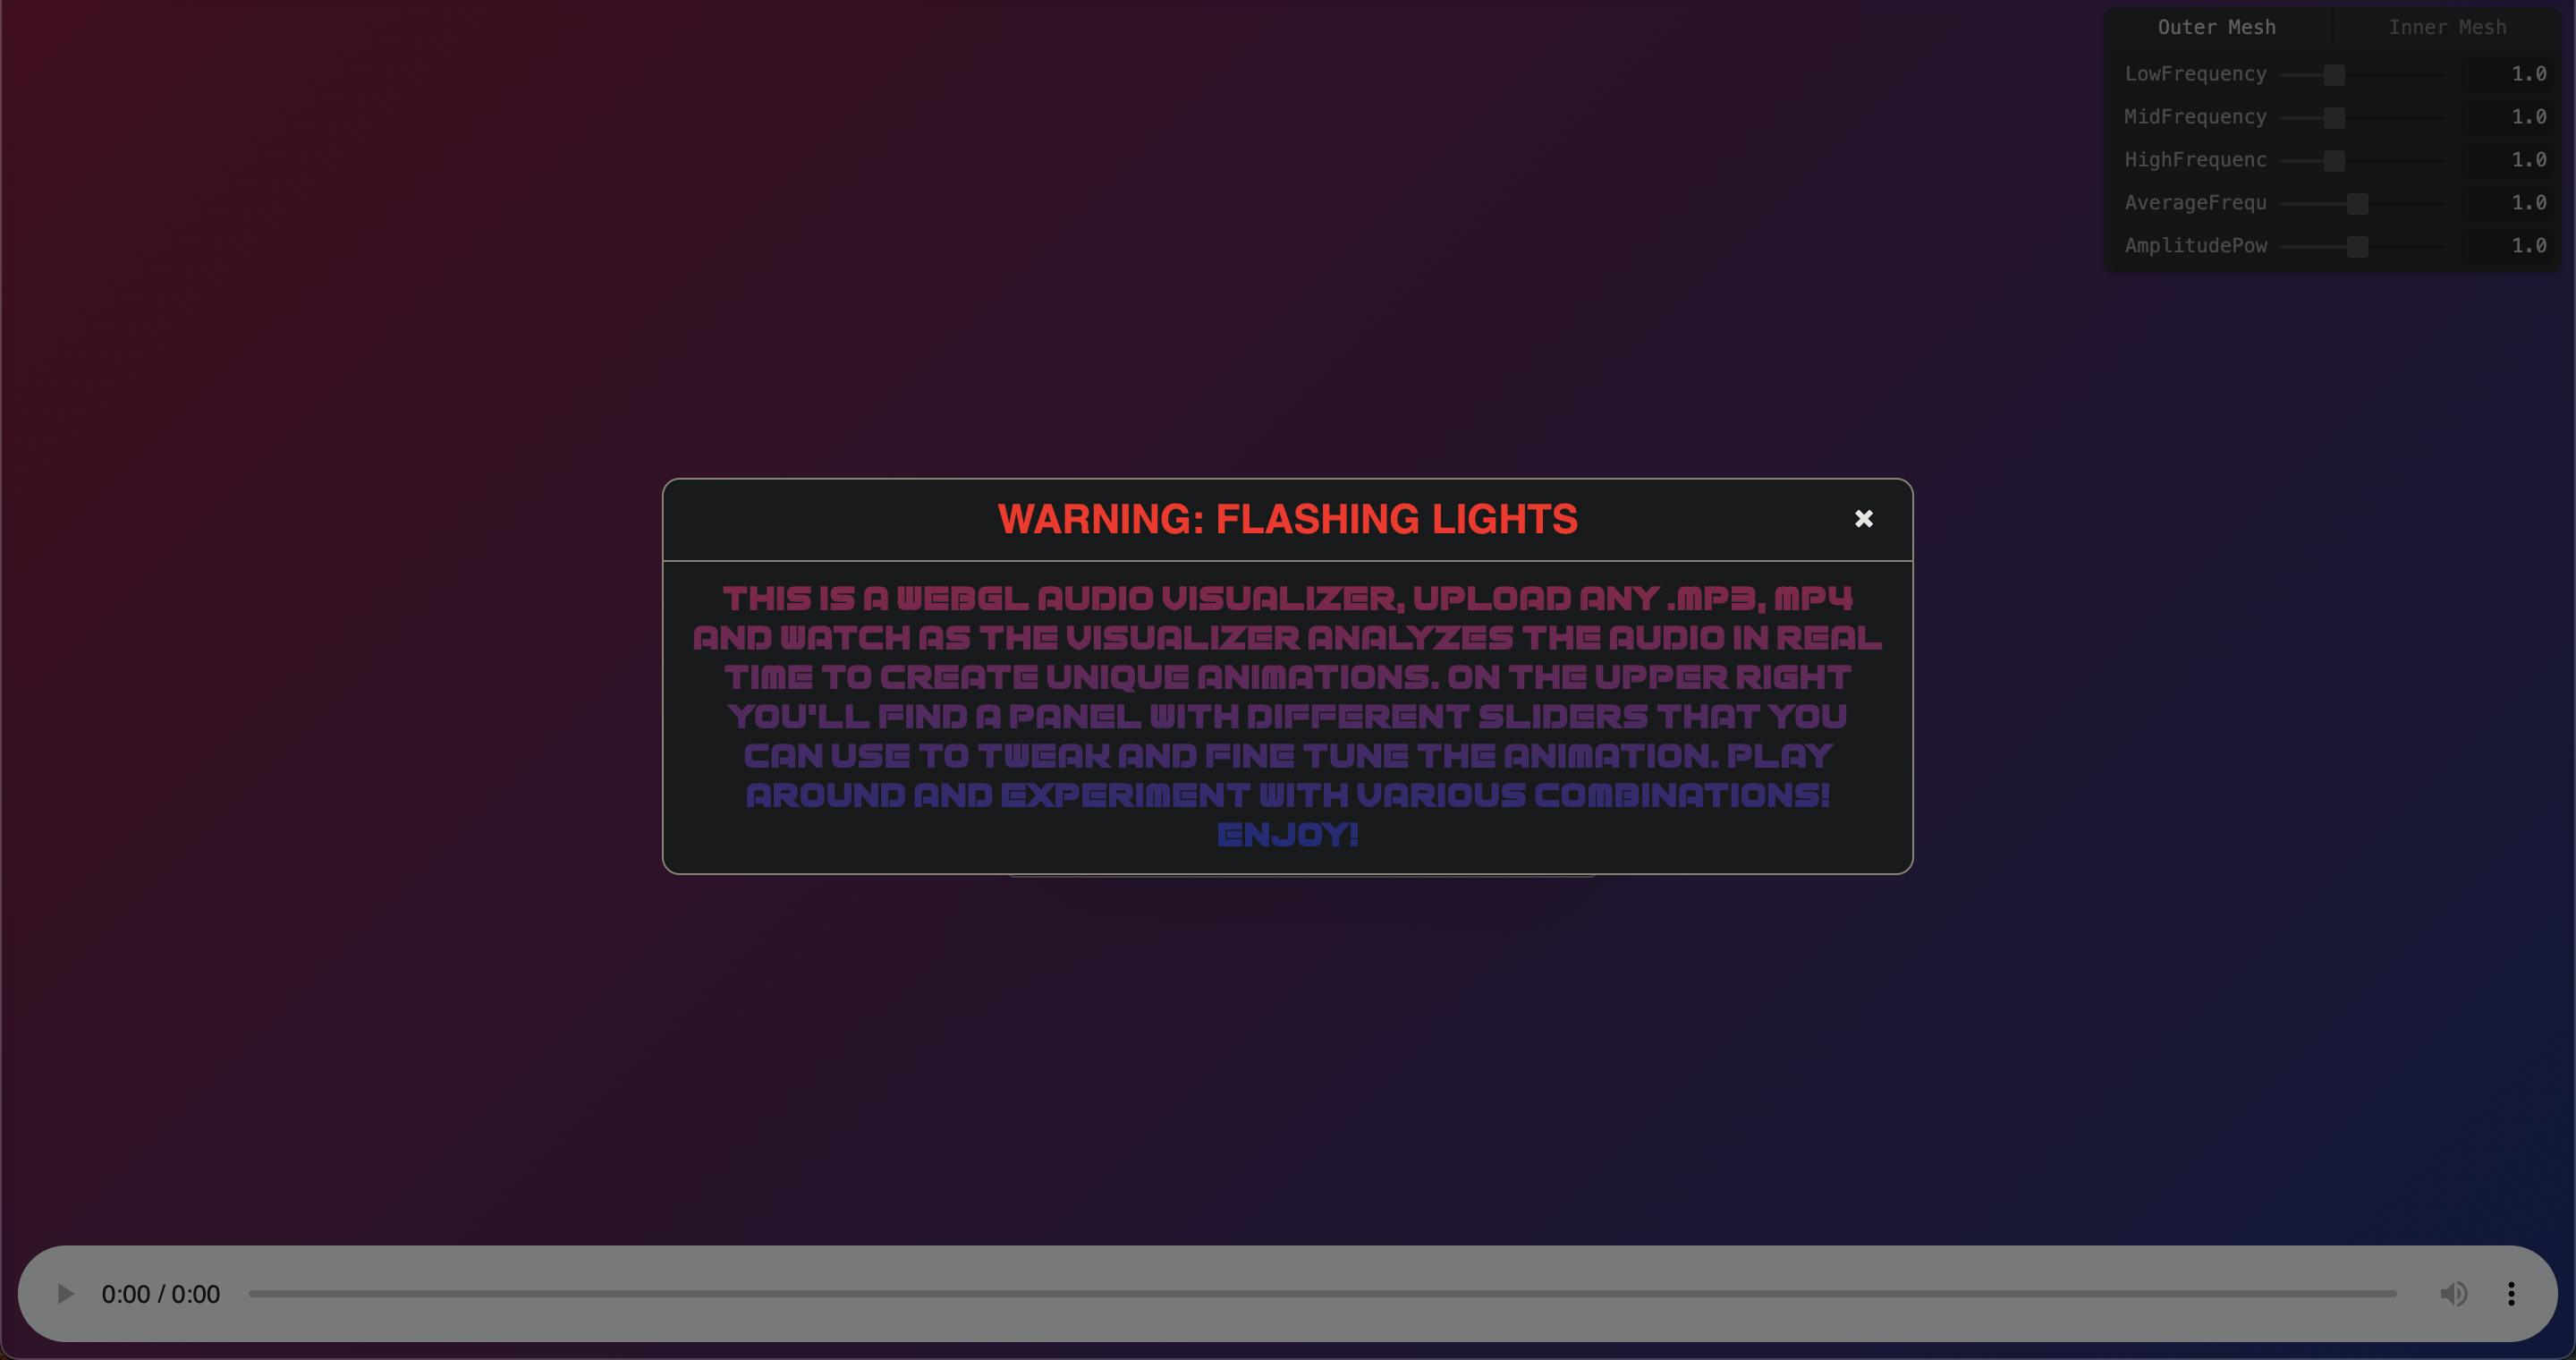
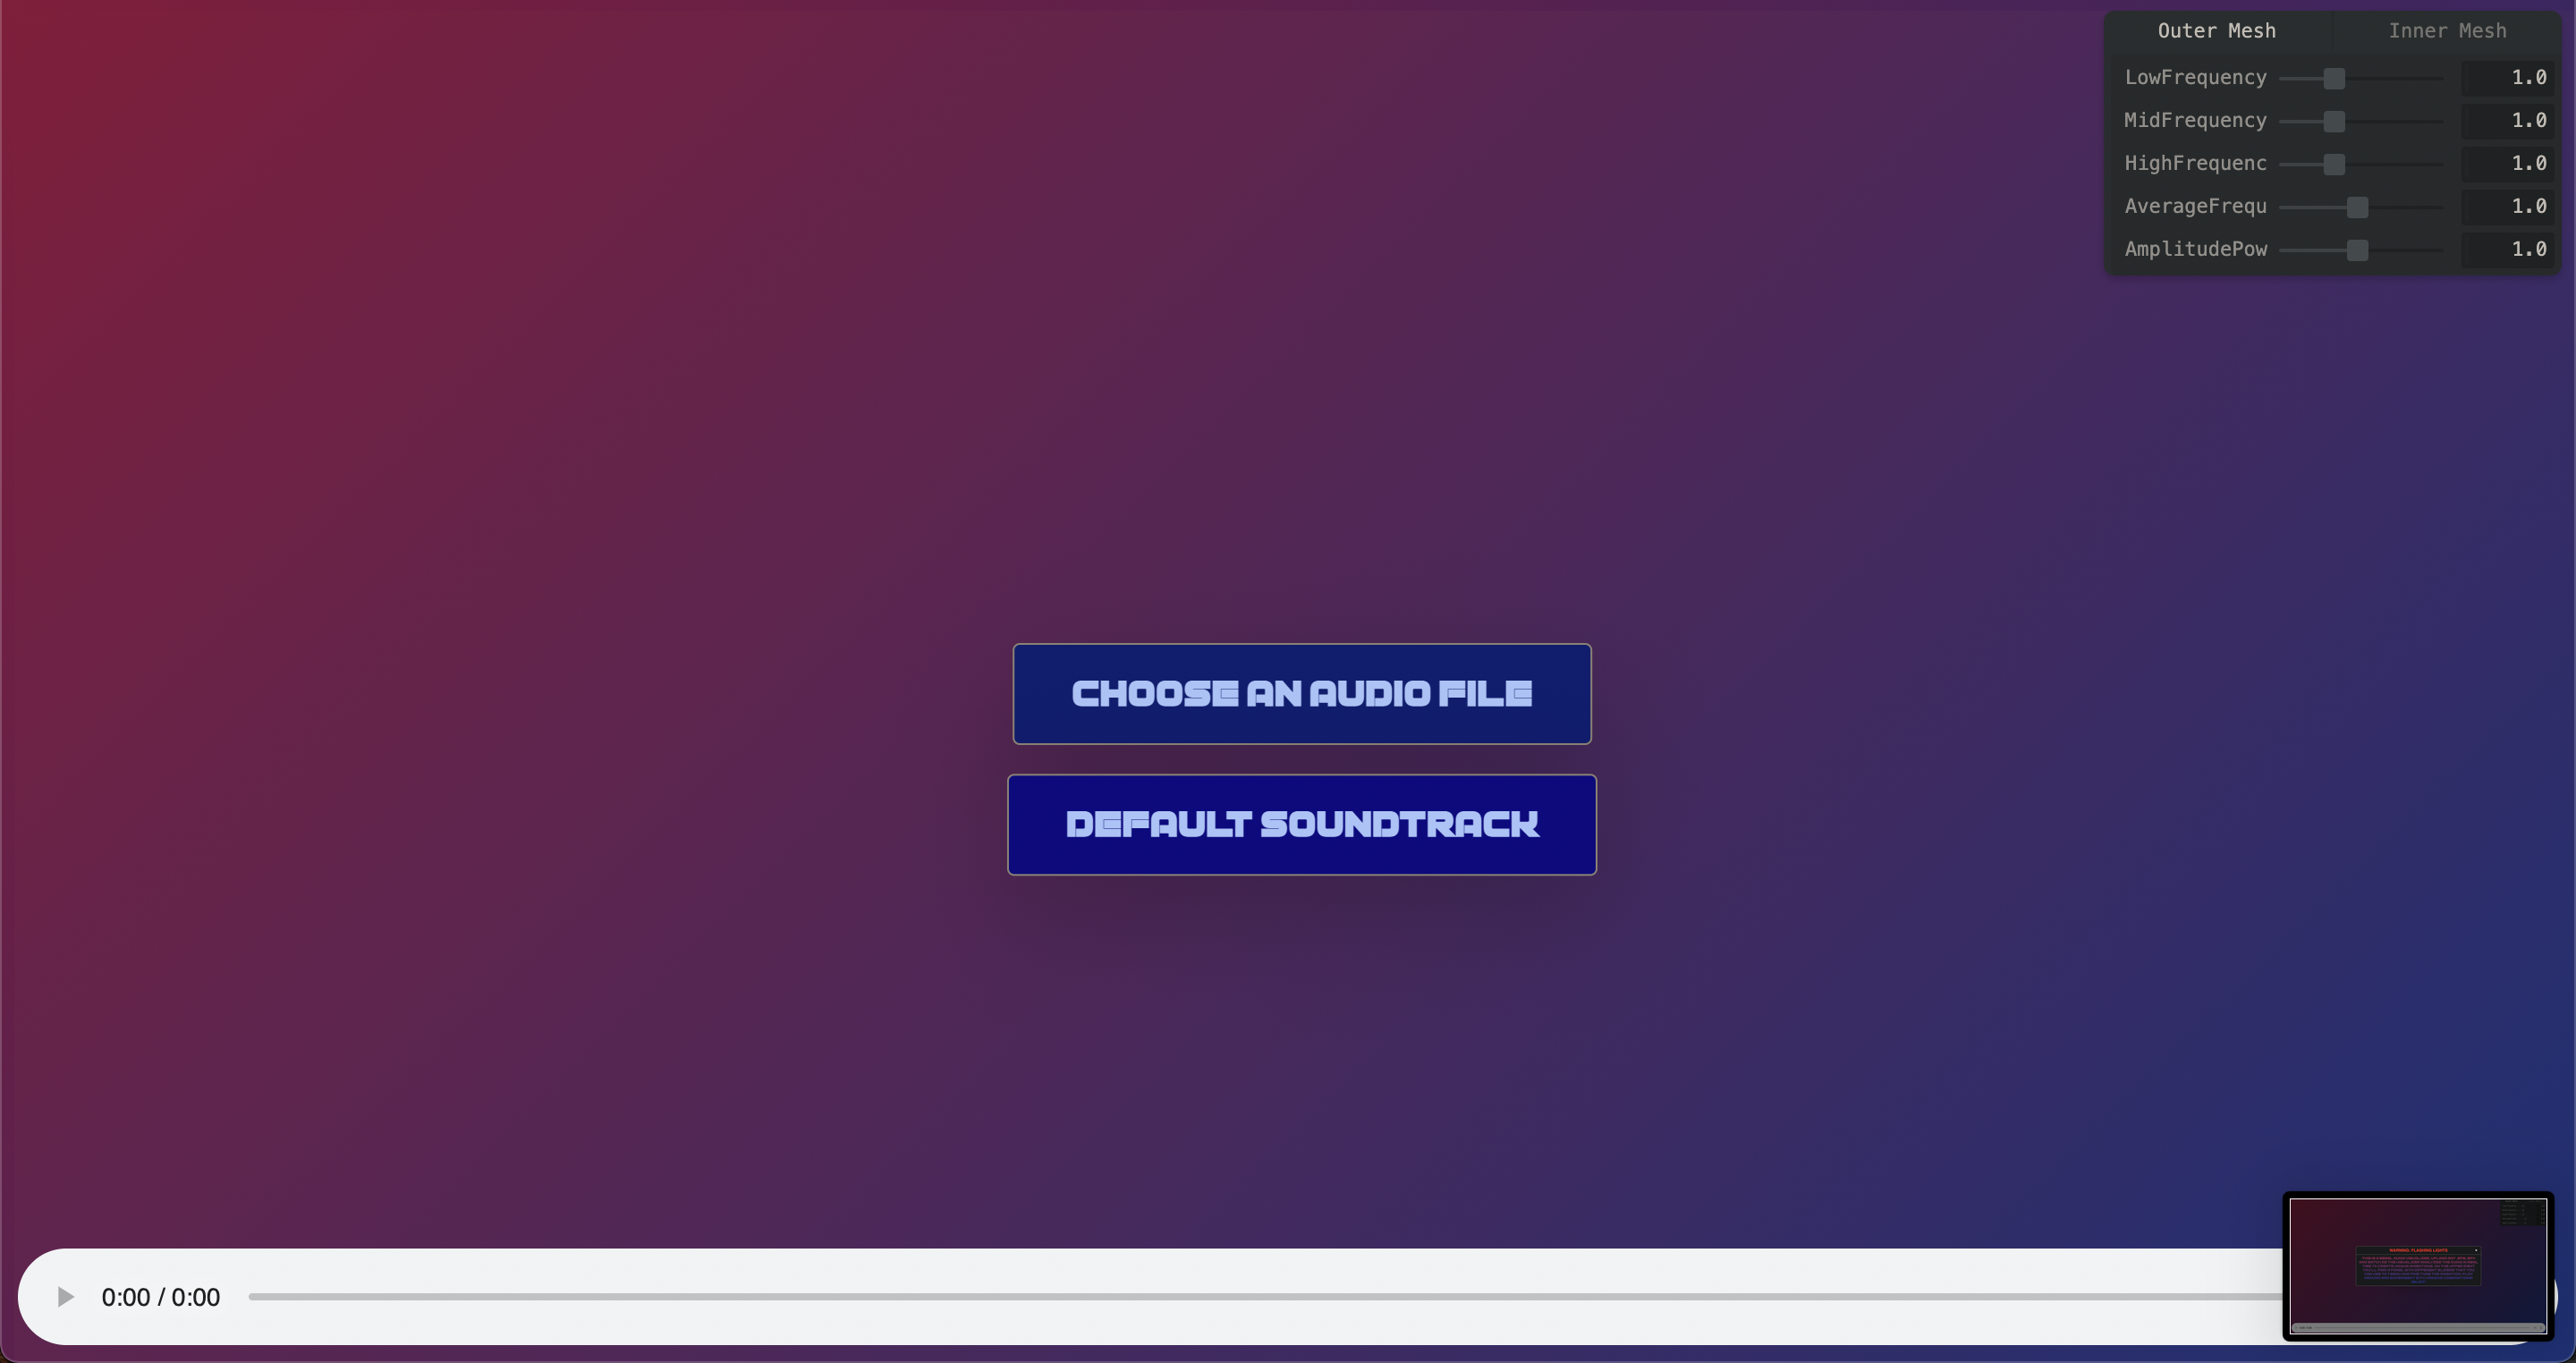
After some feedback from my professor I realized that because my web app was so simple the user experience needed to be tightened up. I created a pop up modal that included a flashing lights warning and simple instructions to cue users about what the web app is and does. Further tweaked the animations, sizes, etc, changed the aesthetics of color / fonts to match a vaporwave synth wave aesthetic and I was ready to go. Or at least I was close to ready to go. A showed the project to Alice, a really talented coder and a member of the low res cohort and she recommended that I add back in a default state with preloaded audio so that people who just wanted to see the app in action and didn't have sound files on hand could see it work. I spent far too long digging through my own code and how it works trying to add a default state, tried to style everything similarly and finally had a working final project.
Future Development:
As it stands I'm quite happy with where it's at as a stand alone web app. Really I just wanted something clean and completed that could serve as a portfolio piece and I think I accomplished that. Some of the class feed back from prior weeks was to incorporate the Spotify sdk and have this be a Spotify audio visualizer. Truly a great idea, I dug a bit into the Spotify sdk this weekend but knew that I for sure did not have the time to learn it all and get it integrated by the time this was due. Nearly all the relevant tutorials used react and while I'm sure I could have hacked together snippet and tutorial code to get something working it wouldn't look as good and I wouldn't learn anything. For the time being I'm happy keeping this as in and developing a separate variation that is specifically linked with Spotify.
The animations of course can be improved on as well, that will come with time as I improve my glsl.
Link to live site:
https://github.com/fakebrianho/threejs-sound-vis
CODE BREAKDOWN: IT'S GONNA BE WILD
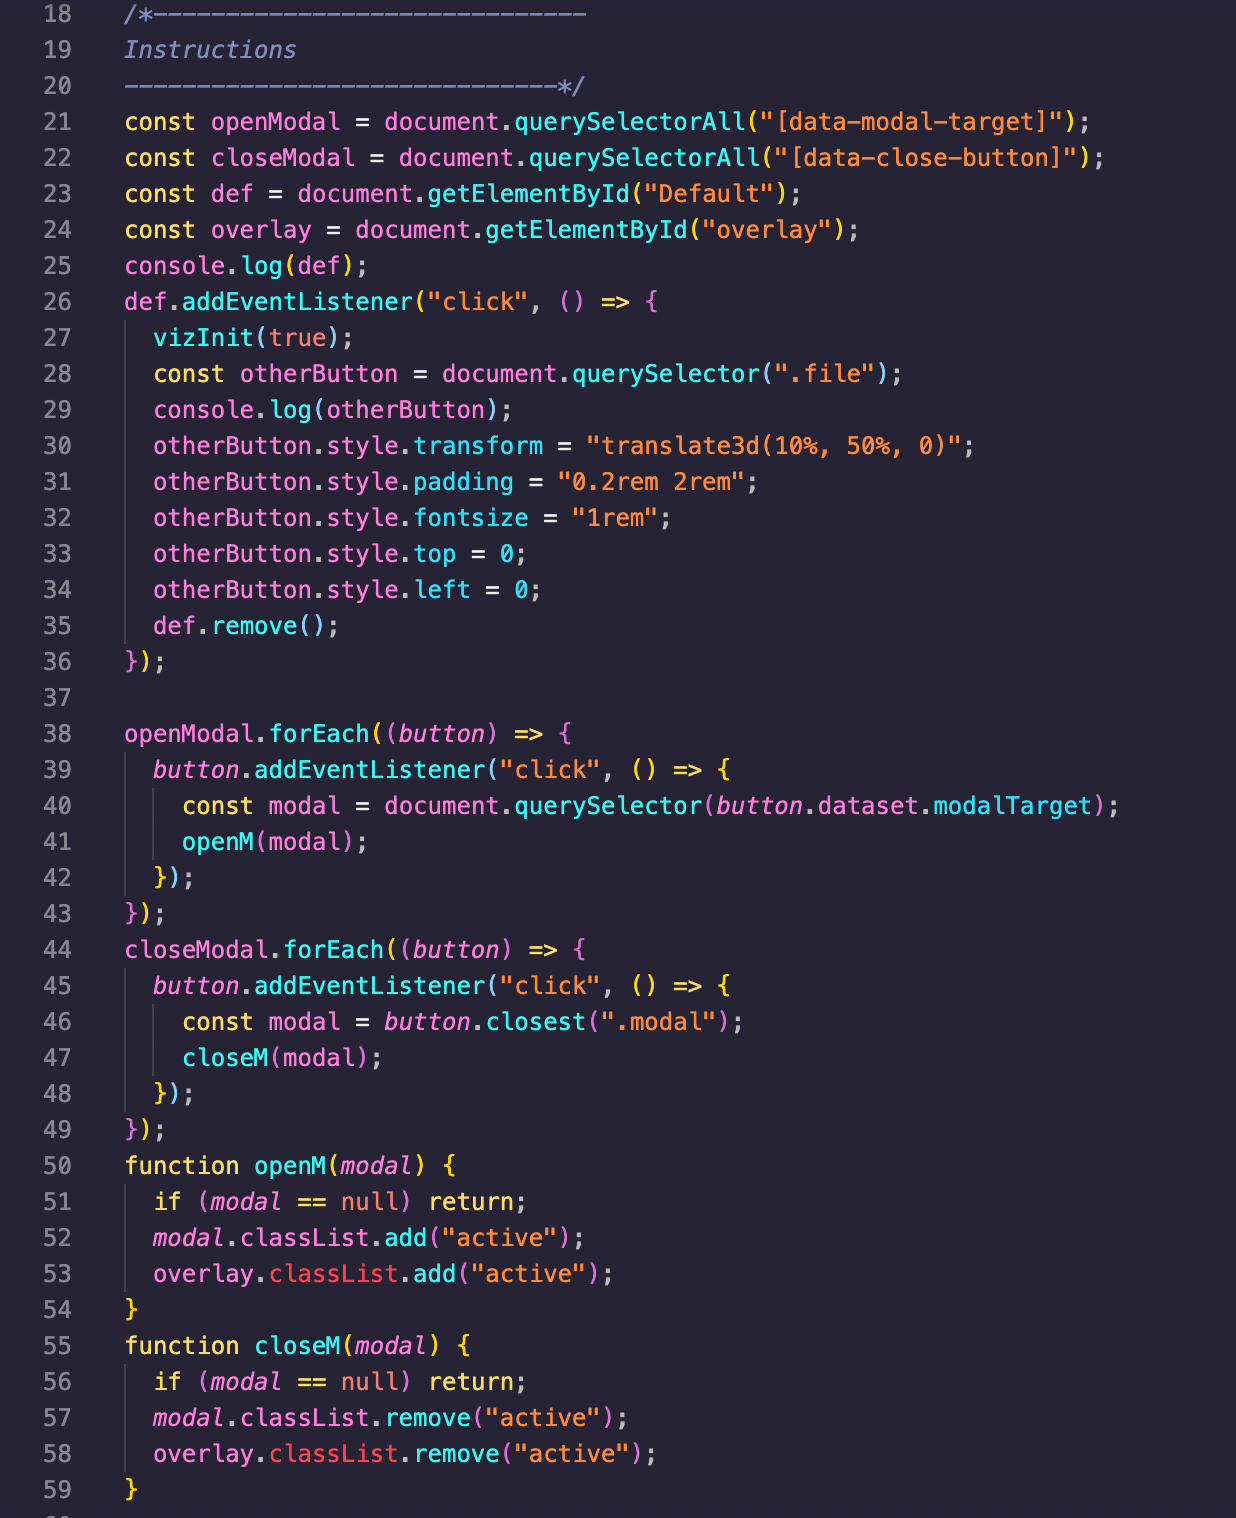
This is some fun css + js shenanigans that allow us to have a popup modal with instructions and onboarding. The pseudocode is basically that we have a modal w/ our instructions and we have a default styling and an 'active' styling. With a click event listener on our buttons we can tell the modal to switch between active and not active hence switching the styling for whether the modal display is open or not.
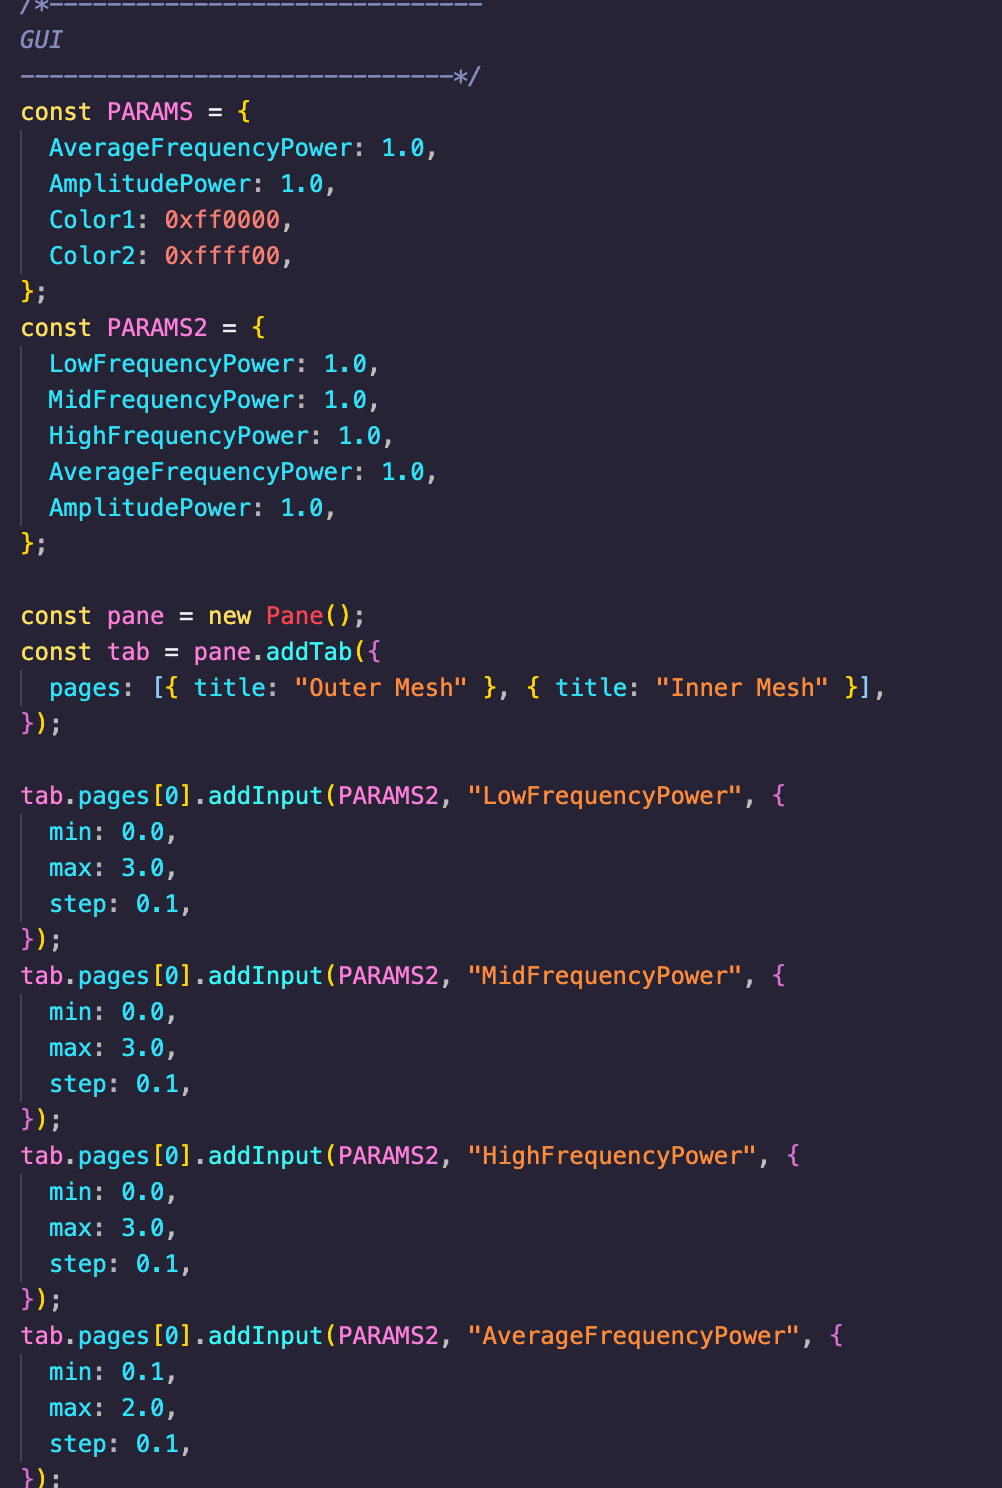
This setup is pretty similar to most gui setups, I opted for tweakpane over the typical dat.gui just because I think aesthetically it looks prettier and I didn't want to deal with figuring out how to style dat.gui etc. This worked out of the box, looked better and had good documentation. You basically create an object to hold your parameter data and then using .addInput you point towards the objects and the data within that object you're dealing with, give it a mix max and how much each slider tick is, tweakpane does the rest for you. Afterwards you just point your update date function at the params and draw the data from there instead of passing variables directly into your update function.
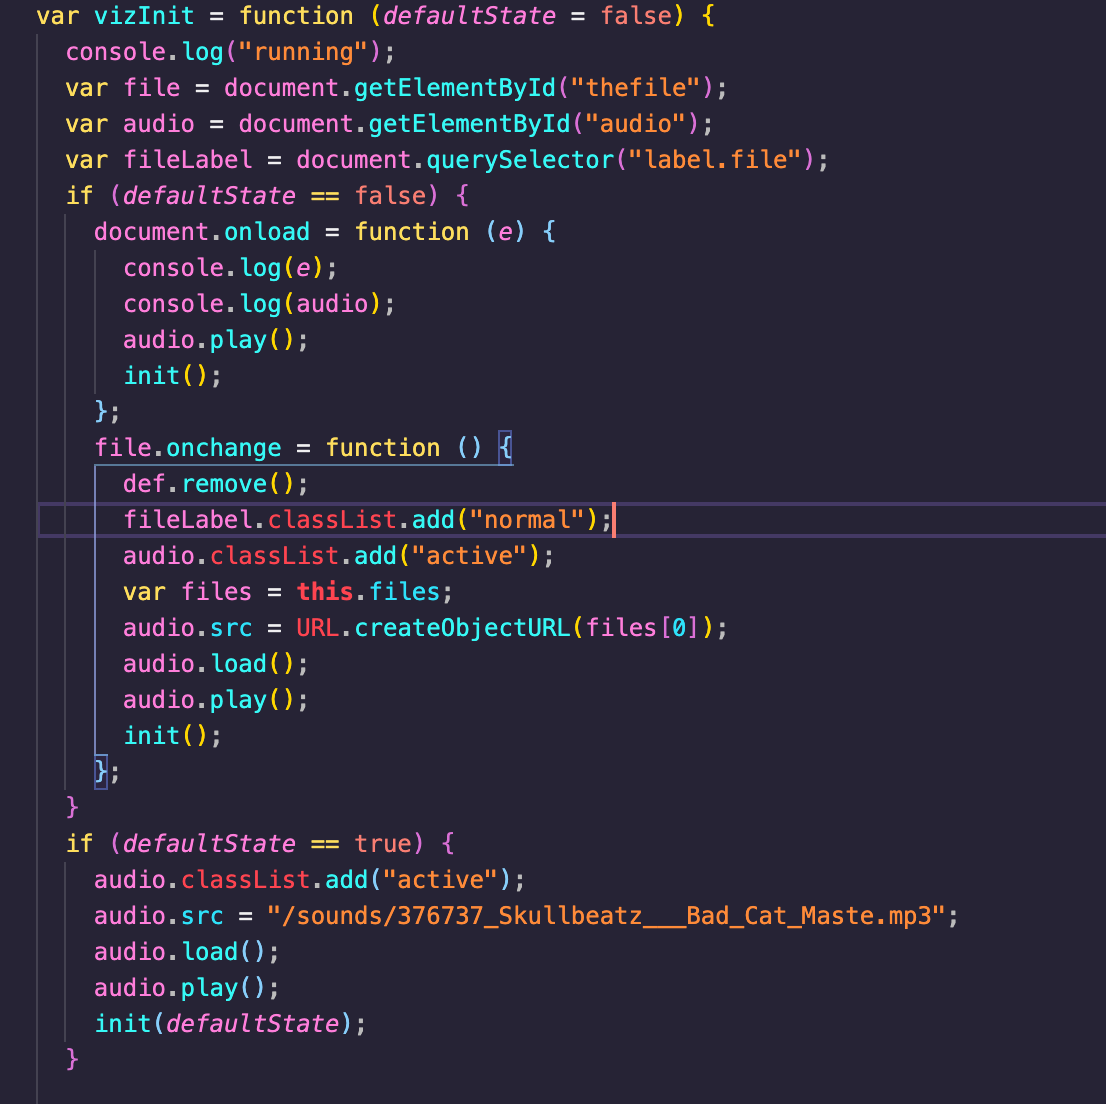
I look for the audio object and the file that is uploaded I play it / initialize the rest of the sketch. This is the pre-init I guess. It checks for state to see if you're using default sound or not as well.
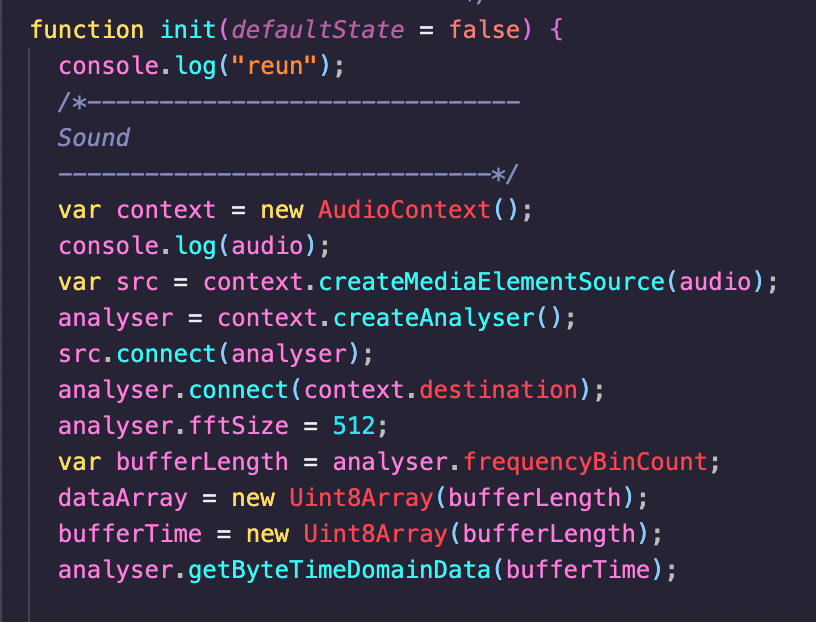
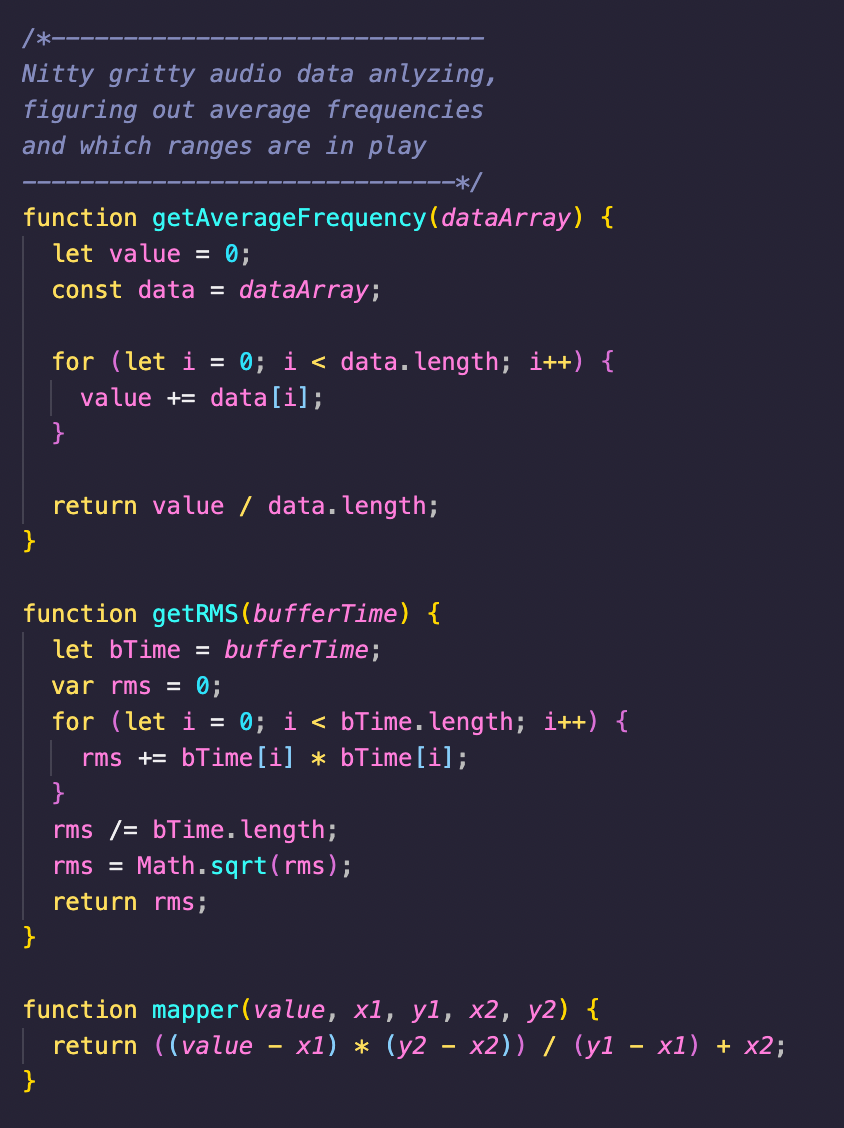
Here I start the nitty gritty breaking down sound data into usable things. You create an analyzer node using the webaudio api and connect it to the audio being played, there are some built in functions like fftSize and binCount which is essentially sample size per tick. Technically speaking it's probably not but I'm not an audio engineer, functionally speaking it's something similar to that.
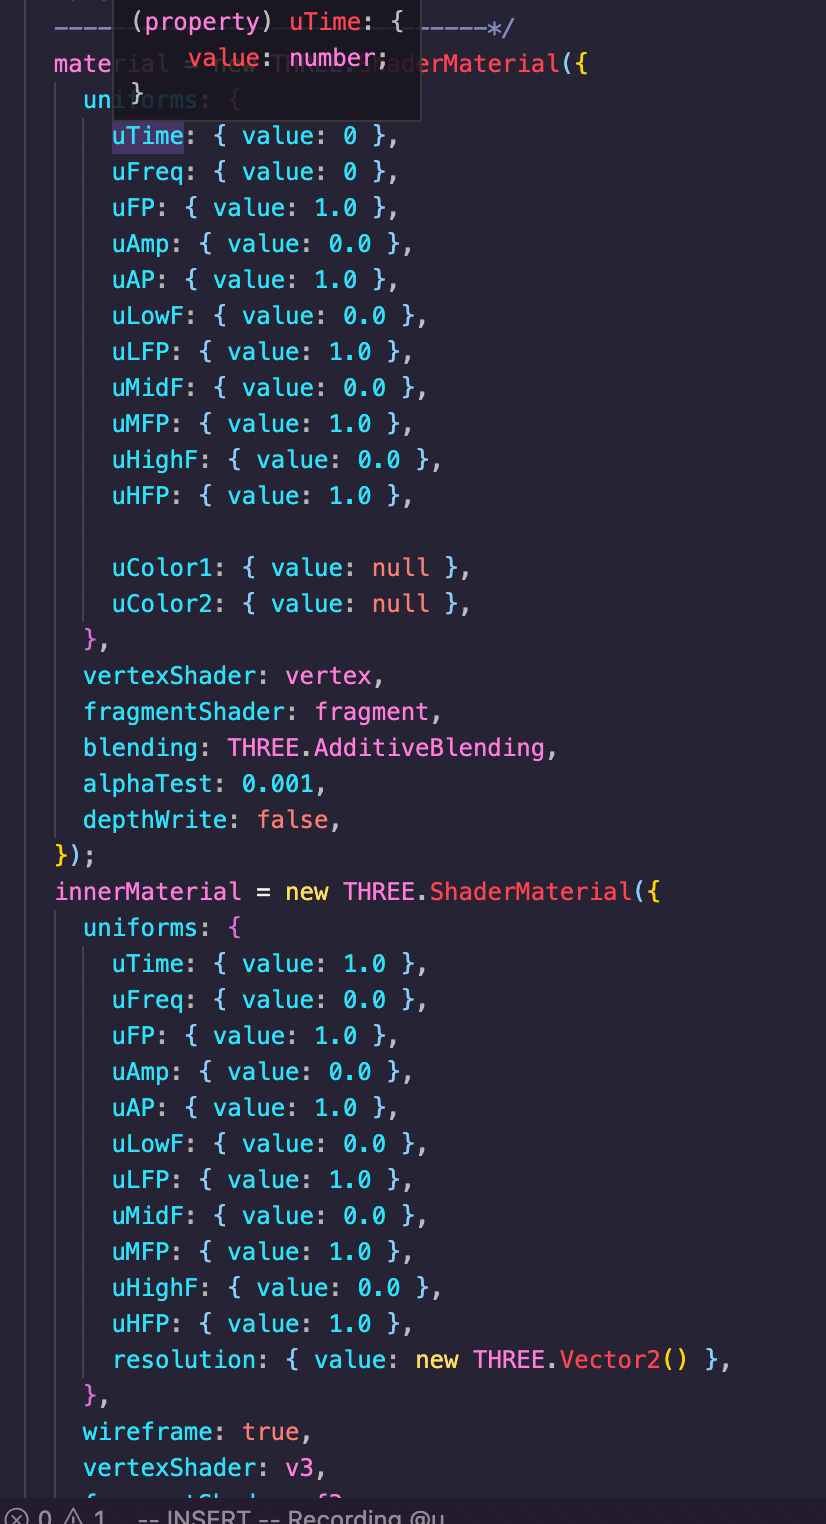
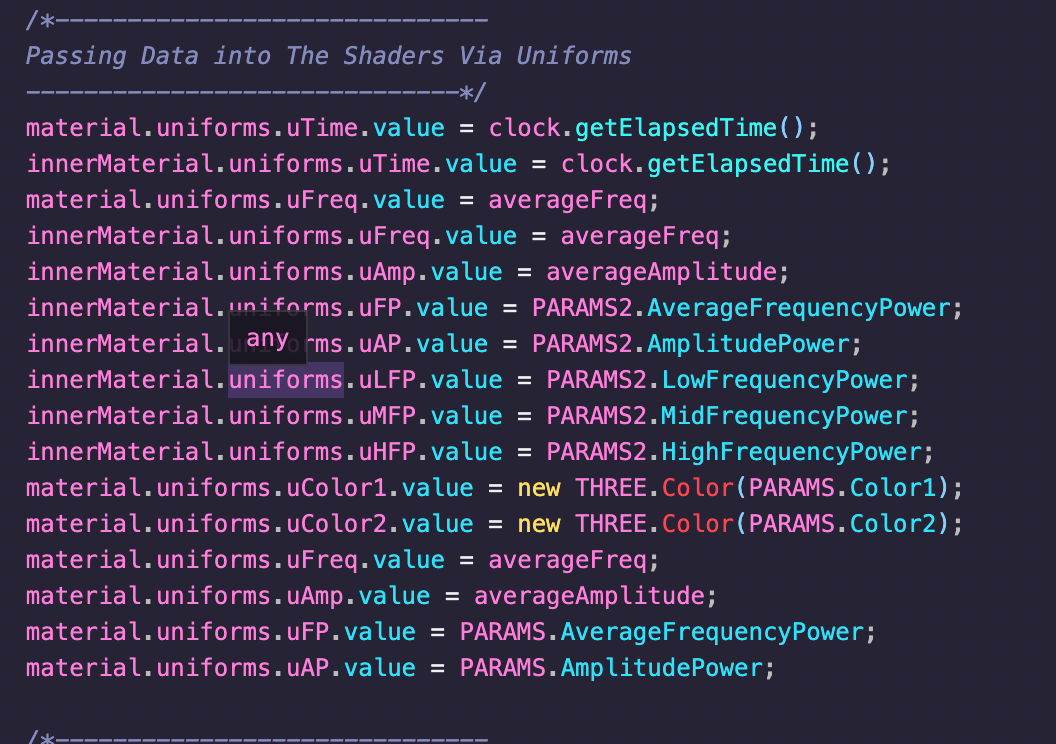
Where all the fun begins...you basically pass in uniforms to your vertex shader, aka data that is to be used every frame. Here we have the screen resolution, time, frequency power, amplitude power, averagefrequency etc. These values are all obtained from some simple but not intuitive calculations like Root mean squared of your sound sample which gives you amplitude. I don't know how or why but that's how you calculate amplitude. For high/mid/low I divide the hz by the sample size which gives the frequency of each dataArray point and I sort them based on that, between a certain value = low etc.
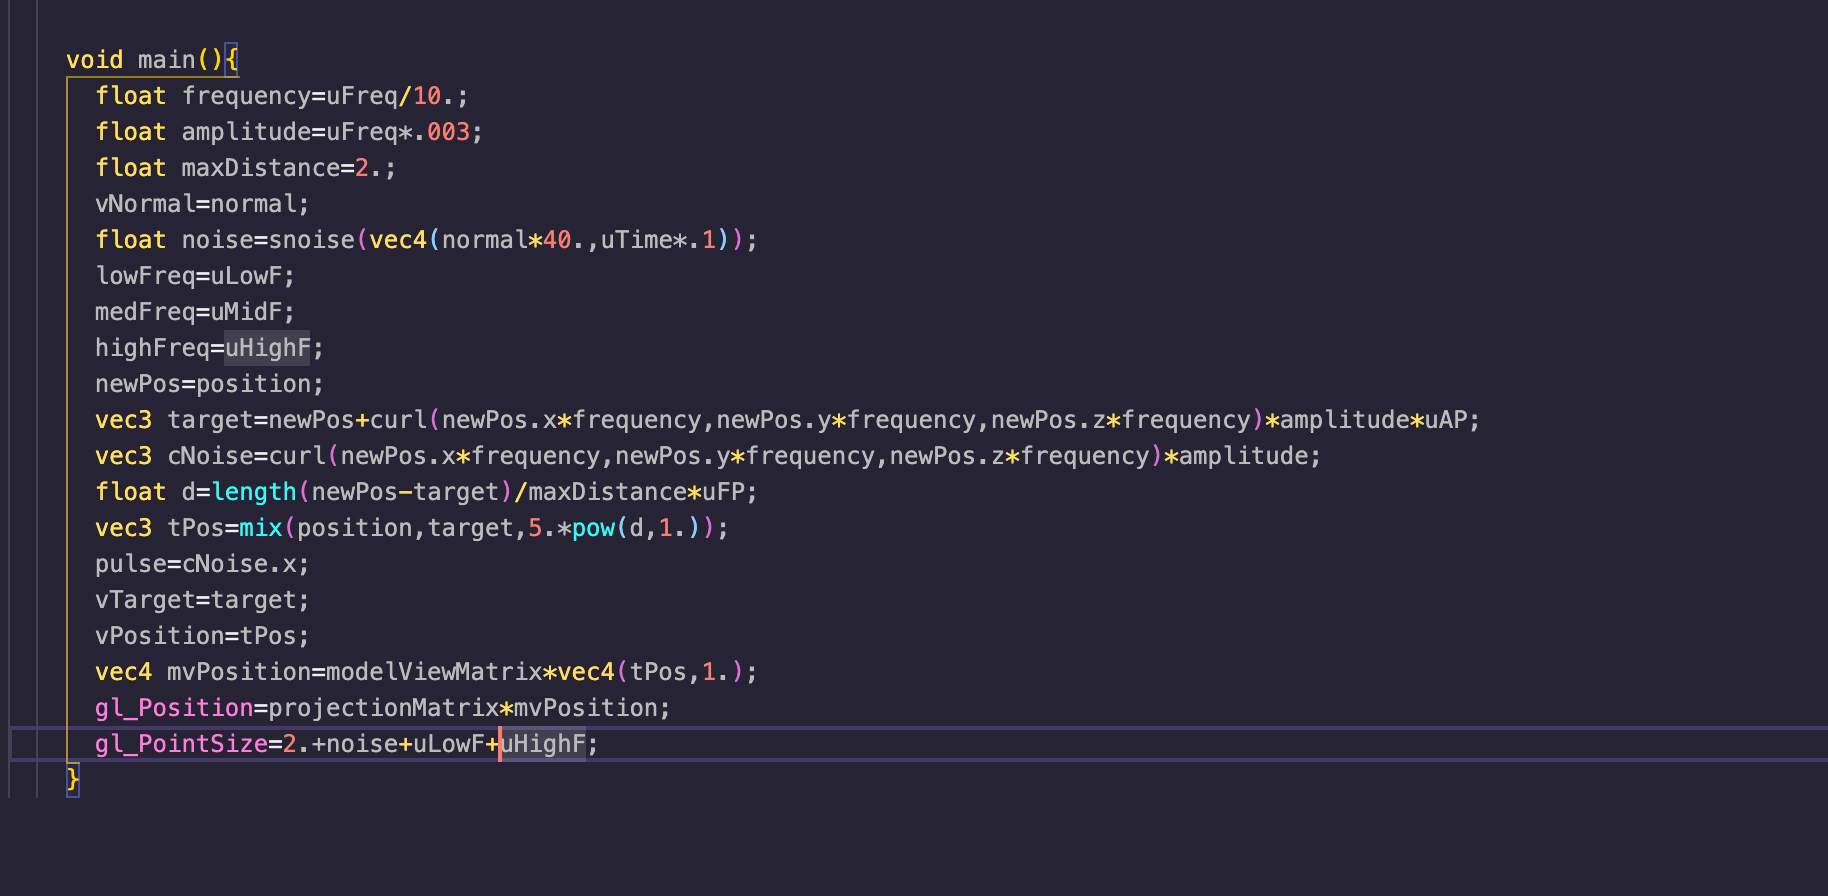
I use curl noise because I like fluid simulation and I basically take the vec3 position and multiply by frequency and amplitude and get a curl value out of it and add that curl to the original position. This gives us a target position and I think use the .mix function to interpolate between the original position and the target position every frame. I then pass on the low/med/high frequencies as varyings as well as position to the fragment shader. The way shaders run, everything goes through the vertex first before going to the fragment shader.
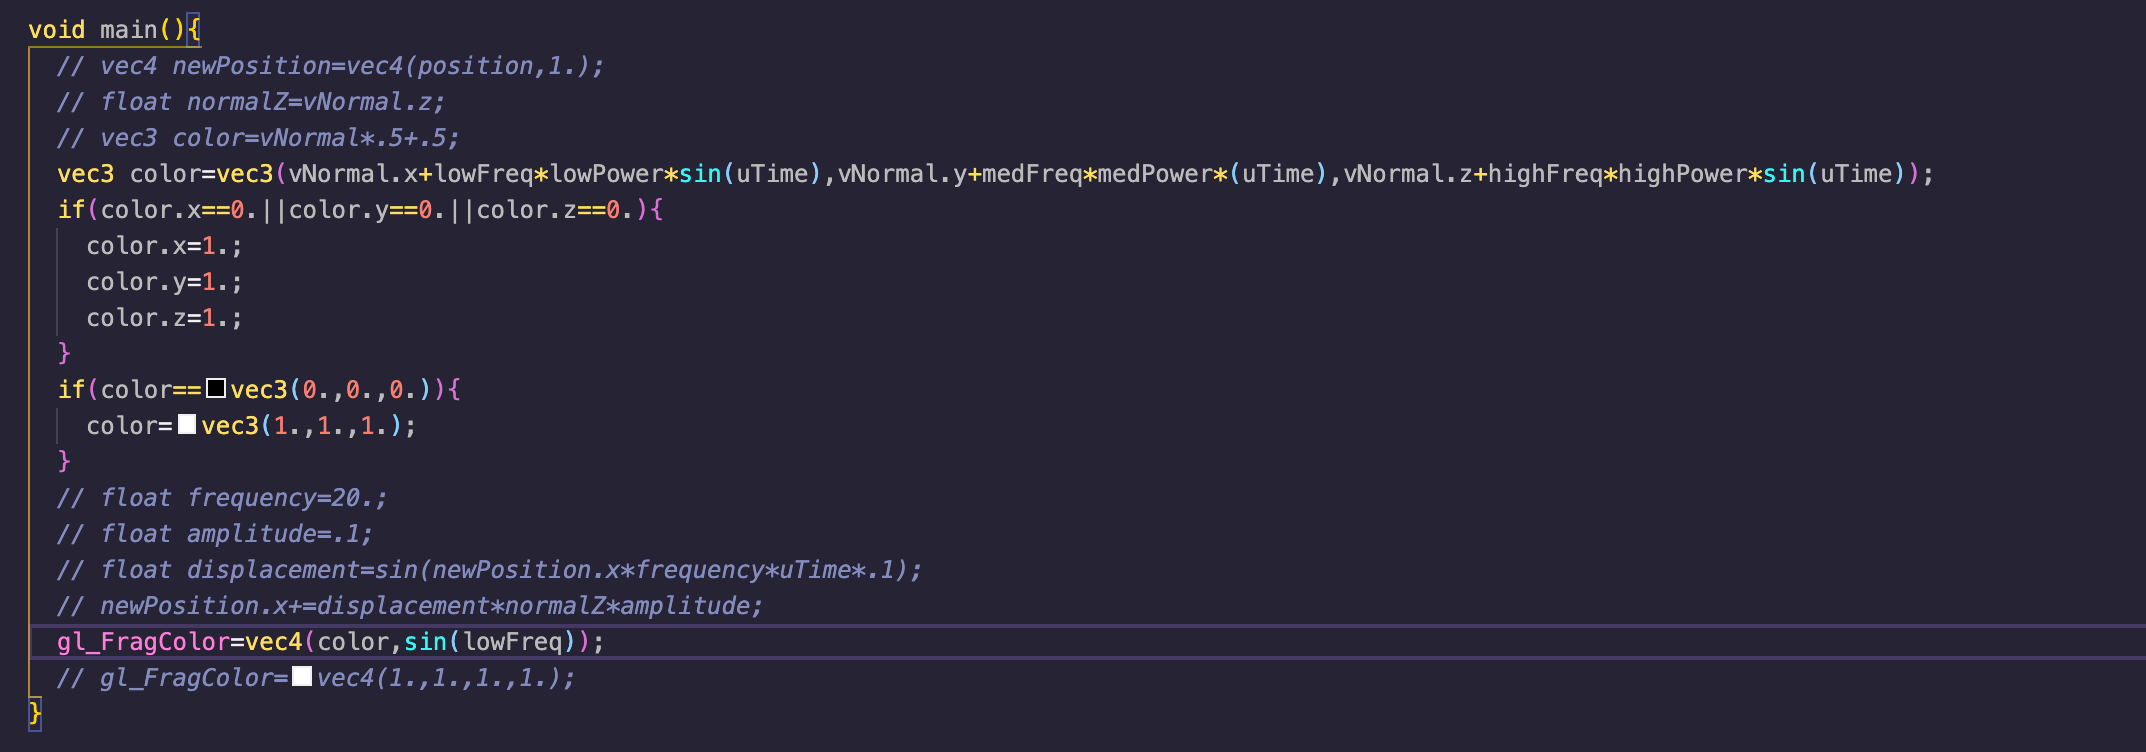
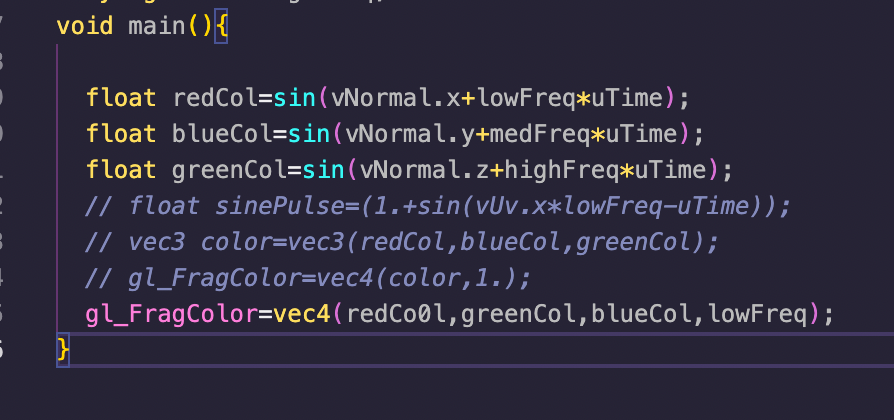
I'm taking the normals of the mesh and then multiplying by my varyings, the lowfreq power and the different frequencies that I previously sorted out. Add some sin waves for posterity and then churn it all into a single vec3 color. I don't have a real rhyme or reason for the way I did this, it was just trial and error until I liked what I saw really. I don't have the ability or understanding of math and math in shaders to have too much creative control yet so it's a lot of trial and error and learning from that. Overall shaders are very hard for me to visualize in my head.
Attributions/Inspirations:
- Ashima Arts - SImplex Noise + Curl Noise Functions
- Ken Perlin - Perlin Noise
- Google Experiments - WebGL Audiovisualizer
- P5 / three.js for built in audio functions that I re-wrote / implemented w/ different params.